Jump to content

Baitmaker

Members
  • Posts

    275
  • Joined

  • Last visited

  • Days Won

    2

Everything posted by Baitmaker

  1. TY HunterPRO1!
  2. No I don't, but it's funny you should ask because I am getting ready to start on my first pair of duck carvings. I have them cut out and ready to start shaping. It should be fun.
  3. Thank you! The foil baits really look cool in the sun. Here is a new perch I just finished.
  4. Many years ago I designed these single treble blade baits with spin tails. These are prototypes made from 3/8" metal tubing. They work extremely well on a large variety of fish. For a hot minute I was thinking about getting a patent until I saw something very similar being made. I'm always thinking and trying to design a new bait or action that the fish haven't seen. It's healthy for the brain if nothing else. Good luck on your invention!
  5. Thank you and yes, these are all hand carved wood baits. I mostly work with cedar.
  6. Thank you New River Addiction and Jtrout. I really appreciate the nice comments.
  7. Finally got around to finishing up some shad style baits that I started last summer. These are 3" and under and once again made from cedar. As much as I hate working with foil, the end result is pretty cool. They really shine out in the sunlight.
  8. Way cool design. Those really stand out. The deep ribbing looks like they might produce bubbles or a different action/vibration if nothing else. I'll bet they look great in the water.
  9. You have a very nice touch with an airbrush. Great fades! No need to get too fancy when your basic paint jobs look that professional. Here is a video tutorial showing how to do fins and gill plates that may give you some good ideas moving forward. The guys name is Mikko. He is from Finland and is a world class bait builder/painter. His videos are worth checking out for anyone wanting to up their game. Keep posting your work please. You definately have what it takes.
  10. VERY nice paint jobs! They turned out beautiful.
  11. Also wanted to point out that the shape and size of a bait can dictate the required weighting needed.. For example, a round low profile bait will not have the same tendency to tip on its side that a tall flat sided one will. Stick or minnow type baits may not need any additional weight as the hooks and hardware will act as the ballast. Here are some diagrams of different body styles showing where weights are placed. It's not in English, but it may help. If you will notice, some of these do not have internal weight added. Others will have the balancing point moved closer toward the nose or tail to give them their desired action. These are all shown using eye screws instead of thru wire construction, but it may help give you a better understanding on your next attempts. http://wobblerbaujw.jimdo.com/schablonen/wobbler/#Wobbler
  12. Thanks again Drew. Several factors could be responsible for your bait not running the way you want. First of all, you are trying to replicate a plastic bait with a wood version. They each have their own characteristics and will behave differently in the water. The weighting may not be the only reason for it not running true, and it may not be the culprit at all. Marking a true center line to work from is crucial to a baits balance. I use a compass to mark the line while the wood is still in block form, and drill all holes and cut the lip slot before anything else. This line should be visible throughout the entire shaping process. Weights, hook hangers, and especially the line tie have to be dead center. It's not something you can guess or eyeball. The slightest amount off center will result in a bait that cannot be tuned to run straight. The same can be said for a lip slot that isn't cut square (90 degrees) to the blank. Hope this helps.
  13. There are many different methods to make a lure knocker. Here is one that is cheap and effective. Personally, I like to use a slightly heavier sinker than the one shown, but this should give you a good starting point. There are a lot of videos on YouTube showing different types.
  14. Also a link to a PDF file of different types and sizes of lips that you can print to make templates with. http://thecrankbaitmasterclass.com/webinar/diving-lip-materials.pdf
  15. Very nice high quality work on your jigs. Well done! I love rigging and fishing the way you described on med/light spinning gear. Put a sensitive rod such as your Avid in someone hands when that bite is hot and they are hooked! One of my favorite ways to catch walleye and like you said, everything else too.
  16. There are a lot of factors that go into diving lips, and also some misleading info out there. As DelfiBoyz said, the general rule is, narrow lips for faster side to side chattering type action. But line tie placement and angle of the lips also come into the equation. They all play off one another to give a bait their specific running depth and action. Here is a link to some generalized info on the subject that you may find useful. http://thecrankbaitmasterclass.com/truth-about-crankbait-lips/
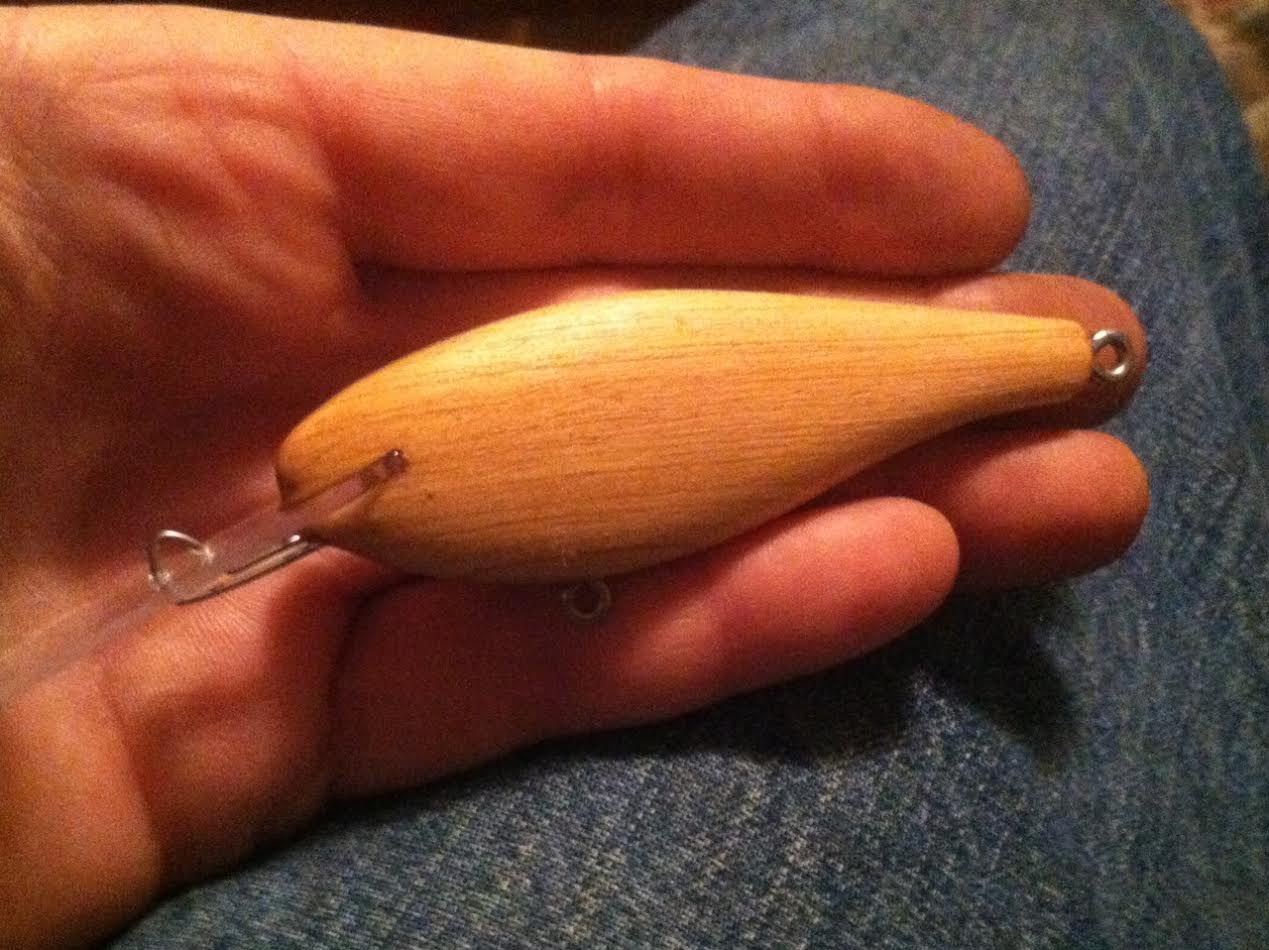
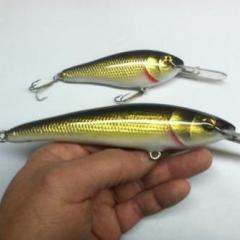
  17. It really depends on the type and size of the bait, wood used, and desired buoyancy. ie, floating, sinking, or suspending. The best way that I've found to do it is by sticking split shot onto a a non weighted blank and moving them around during testing. You can use a small drop of silicon, rubber cement, or tape so that they are able to be taken off and re applied. 
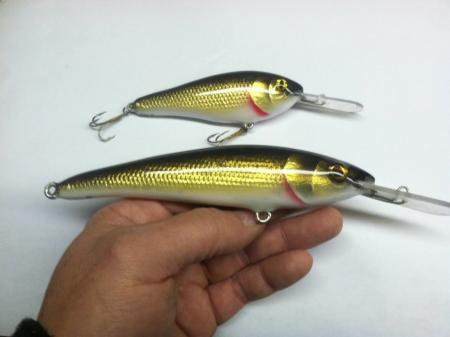
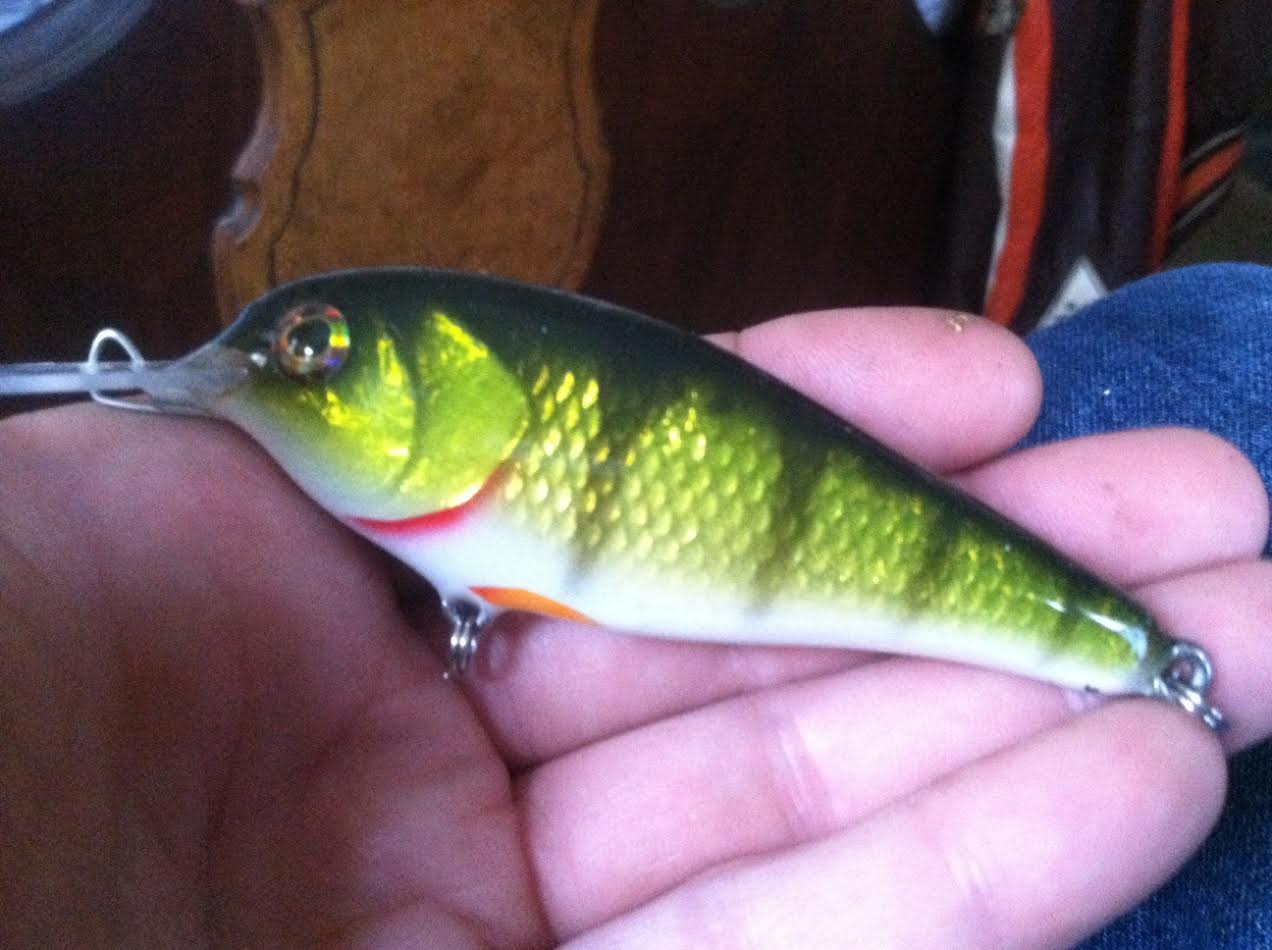
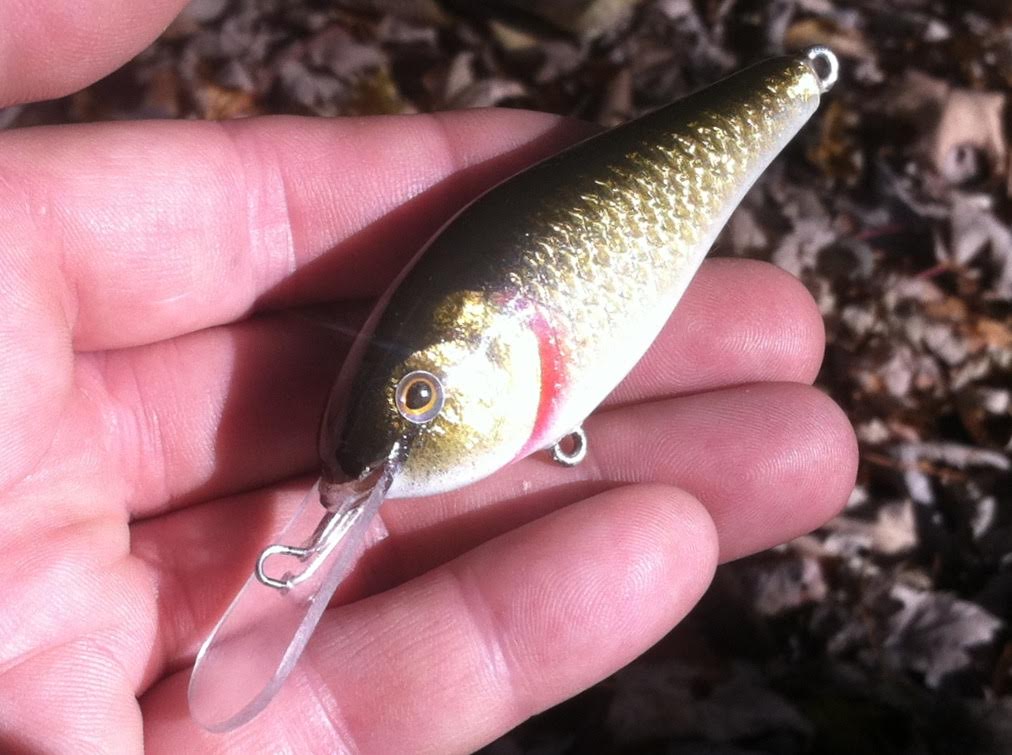
As an example, on most of my 3" and under floating cedar cranks, I have found that a single 1/8 oz. or 2 smaller weights placed in front and back of the front hook is all that's needed for ballast. Larger bodied lures such as big musky baits can require more weight spread out across the length of the belly. Heavier hardwood bodies can be made without internal weighting, where the hardware acts as the ballast. As a general rule, the balancing point on most smaller 2 hook baits will be at or very near the front hook hanger. It's a trial and error process, but you will learn pretty quickly where and how much weight to add for a given type, size, and action of bait that you are building. Hope this helps!
  18. Thanks for the nice comment Dave!
  19. That came out extremely cool. Almost looks like a shrimp or craw bait. I have a real good feeling about that one.
  20. Thank you dzumwalt!
  21. Thank you for the kind words Dave. I like to work with red and white cedar and look for perfectly square cut (90 degree) pieces with the straightest grain possible. No knots or imperfections. Kiln dried lumber is preferred, but I also will buy wood from places such as Menards. It's best to start with stock cut as close to the desired thickness of the finished bait as possible. The less that needs removed the better. Cedar dust is nasty stuff on the lungs and sinuses. Here are a couple of new cedar deep diving rattle cranks in that same citrus shad color scheme. These have a tight chatter swimming action that work well on a variety of species. Thanks again for the interest and comments!
  22. Thanks Mi11er. Would love to start a tackle shop, but mainly I just make these for my own collection. For the time I spend to make them, the cost to make it worth while is more than most are willing to spend. Over the past year, I have sold some to guys who offered me a pretty penny, and keep wanting more all the time. Starting new batches almost daily now. Some are collectors who never plan on actually using them! Others are tourney guys that just like custom cedar baits. It's hard to say no to the prices they pay for them. I'm still not going to make much per time invested, but it's really cool to see the pictures and stories I get in return. As long as they catch lots of fish and make people happy, I'm happy.
  23. Speaking of my bluegill pattern, a customer sent me some pics this morning of several nice LM that he caught on one of them. The gill and Tennessee Shad have been getting a lot of action. Biggest bass was 21-1/2"
  24. Thanks a lot Keith! Yes, I do spend quite a while on each one of them. The process of shaping and sanding a wood bait is a tedious process, but I enjoy it. Regarding my spoons, I have caught 13 different species so far on them. Mainly I use them for bass, walleye and saugeye, but they catch about everything else also. Fish hit them on the fall much like a blade bait. I cast them and let them hit bottom, then pump the rod tip and let them flutter down on the retrieve. They really shine in the fall when fished vertically through and over schools of bait fish. I will never understand why they aren't used by more fishermen. A lot of guys will tip them with live bait, but I generally fish them plain. Tipping them can slow their decent and take away from the darting action of a fleeing or wounded bait fish. If you've ever experienced a good spoon bite, you won't soon forget it. They can turn a bad day into a great one some times. There is a learning curve to master the right way to tap bottom without hanging them up all the time. The expense of losing $5 Hopkins spoons is what started my interest in making my own. Now I never go fishing without having some on my boat. Thanks again for the interest and kind words. John
×
×
  • Create New...

Important Information

We have placed cookies on your device to help make this website better. You can adjust your cookie settings, otherwise we'll assume you're okay to continue.