Jump to content

Baitmaker

Members
  • Posts

    275
  • Joined

  • Last visited

  • Days Won

    2

Everything posted by Baitmaker

  1. Like any other 2 part epoxy, using equal portions and very thorough mixing is crucial for good results. Regarding using Vaseline, it may be good for removal but seems counter productive to me when you are trying to ensure a tight bond.
  2. My suggestion is Devcon 2 Ton epoxy. It dries less brittle and has incredible holding strength. When compared to some other brands I've tested to the point of failure, it's the one that stands out.
  3. Some of my latest stuff.
  4. Sorry for the delayed response. I missed your post. Those SB's run 4- 4 1/2 ft. on average, and can be made to go a bit deeper.
  5. So far, I have not experienced any issues with the rattle baits cracking over time. I use JB weld Quickwood epoxy putty on the end caps which is non shrinking so there is no separation once it cures. Other brands that I have tried shrink to some degree and leave a slight halo or crack between the wood and epoxy. They all get sealed in Envirotex prior to paint, and 2 more top coats of the E-tex on the finished bait.
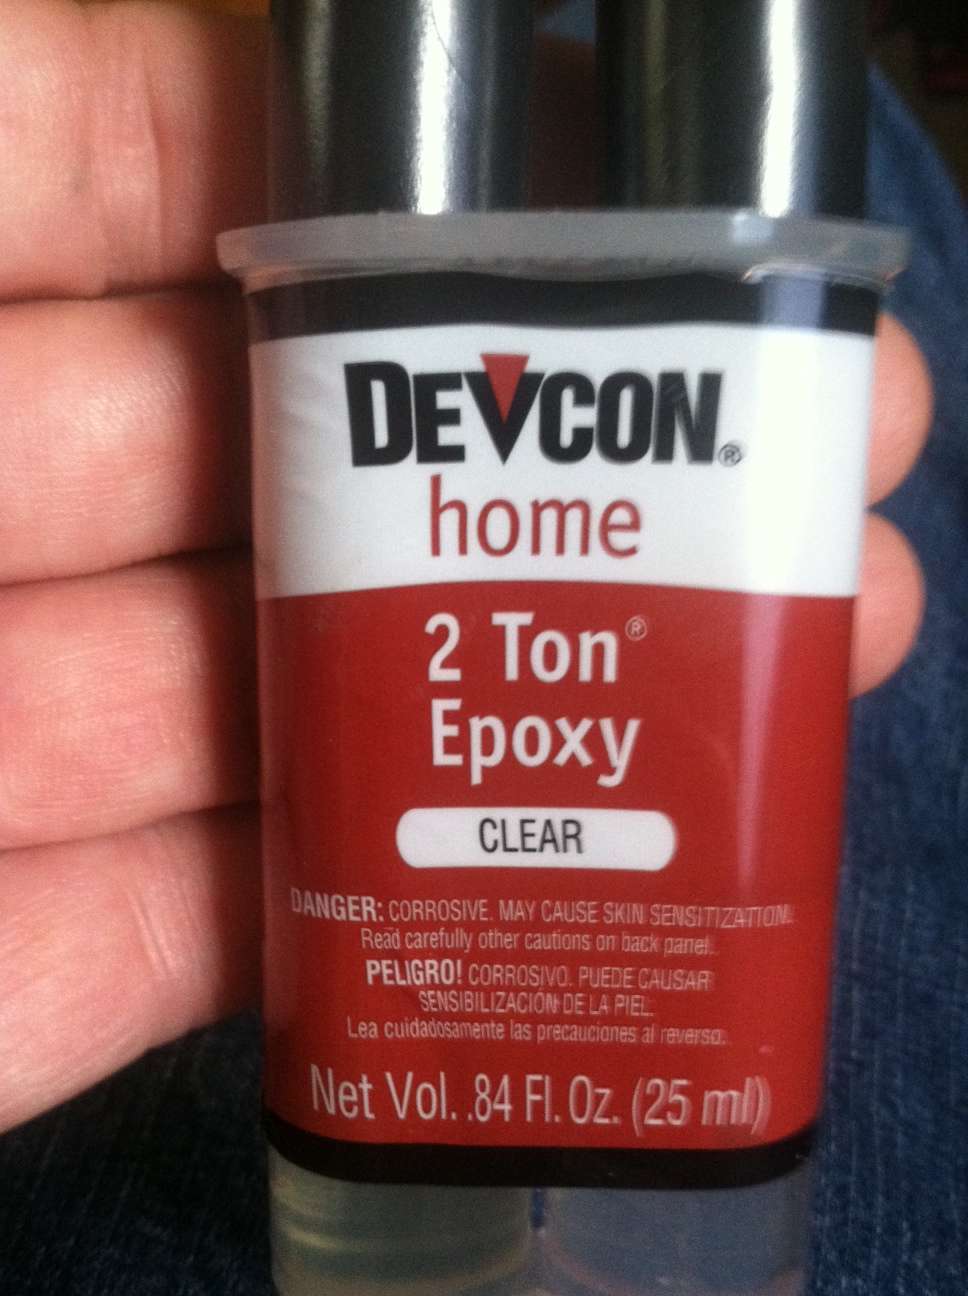
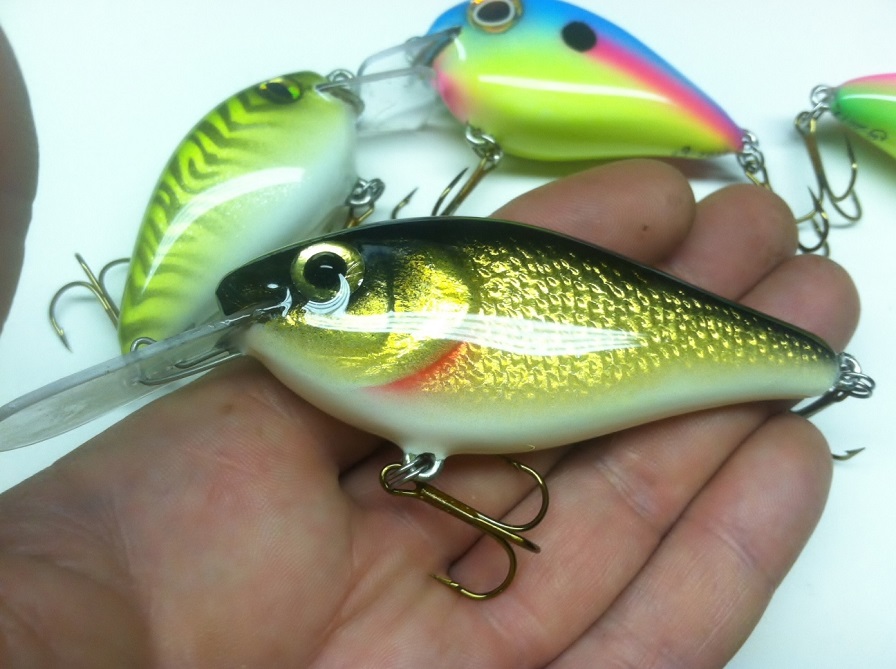
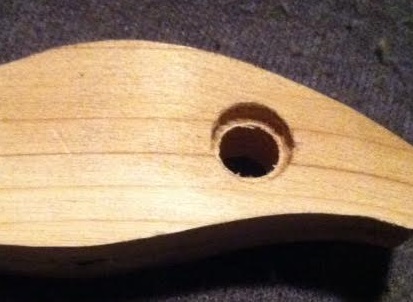
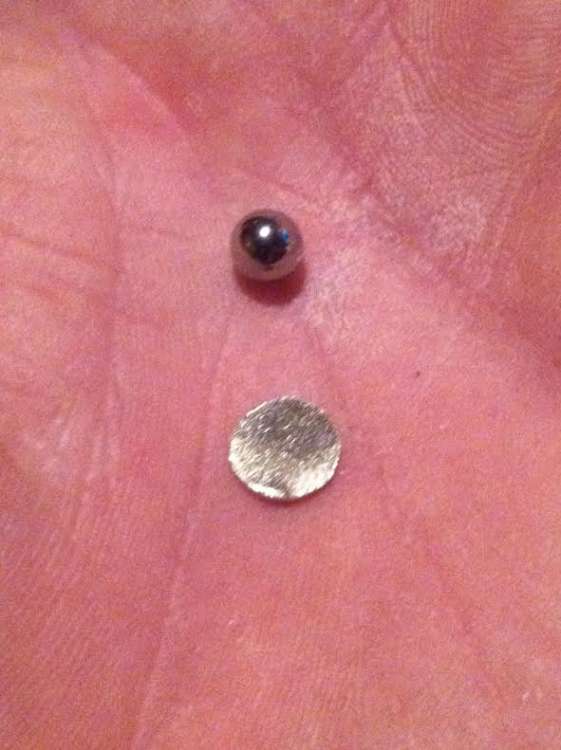
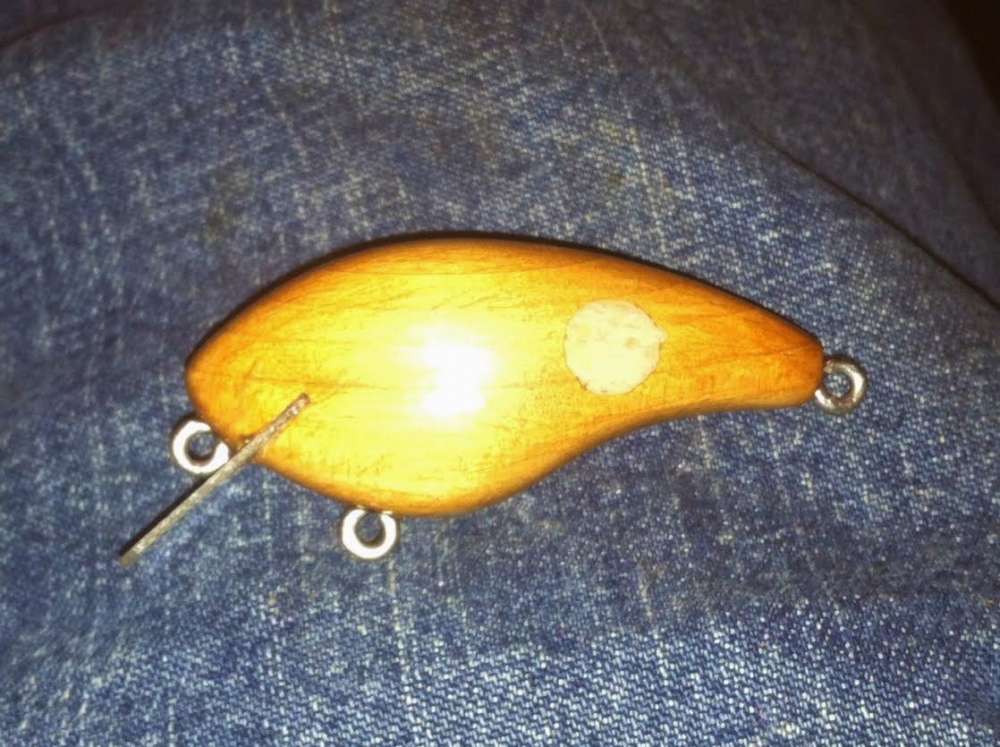
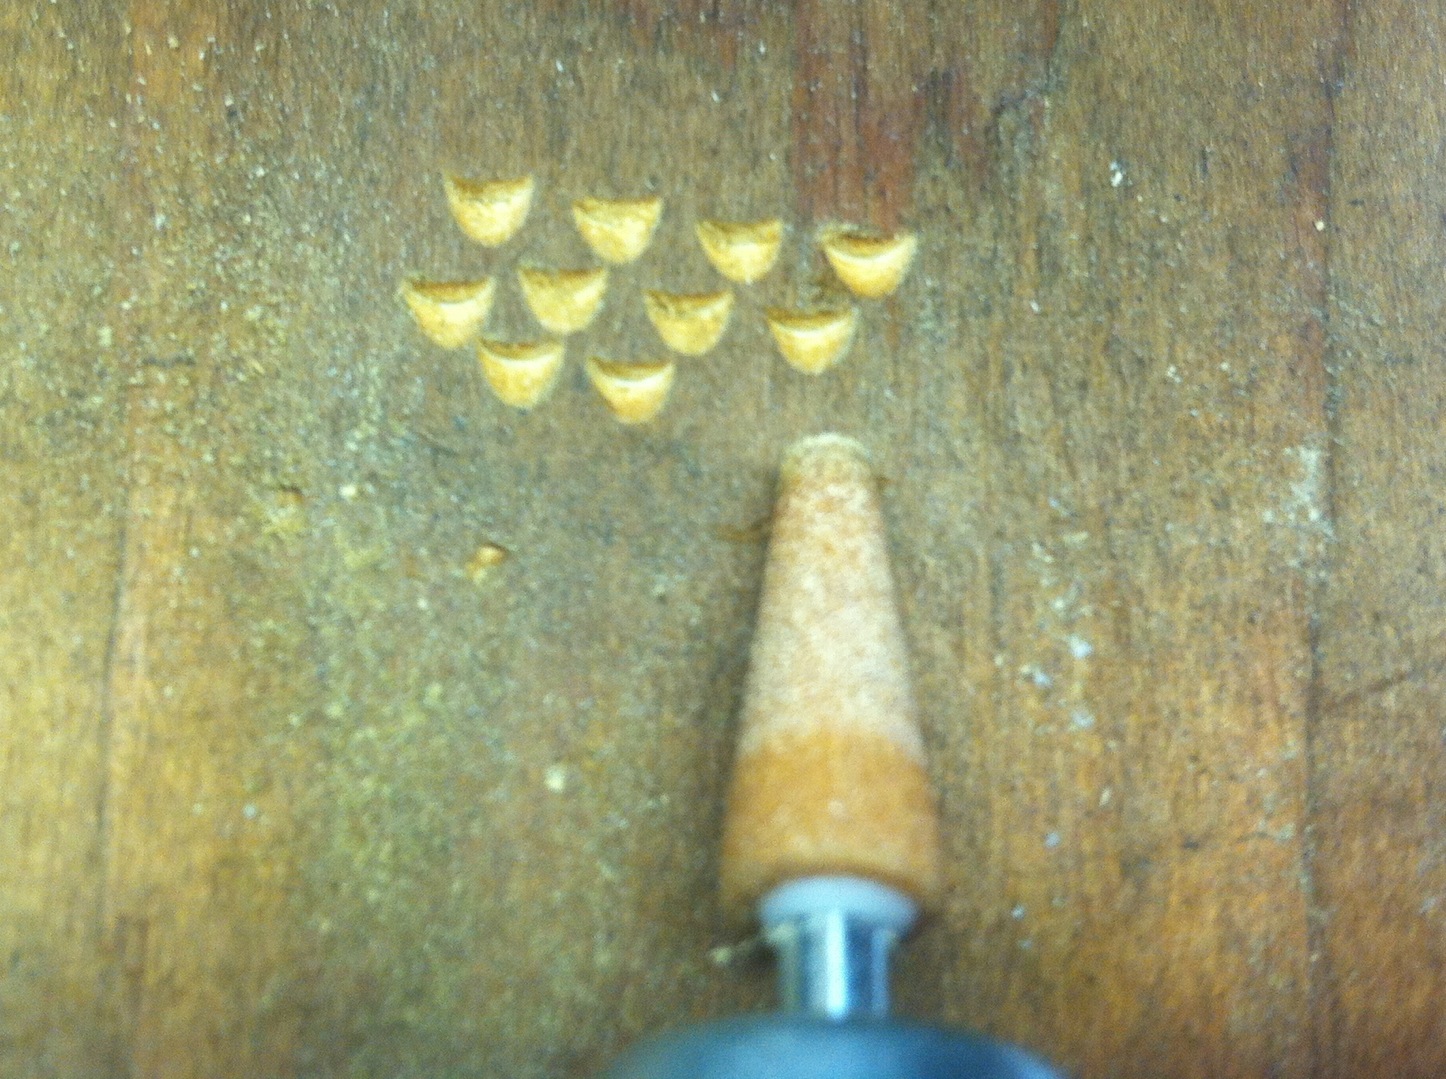
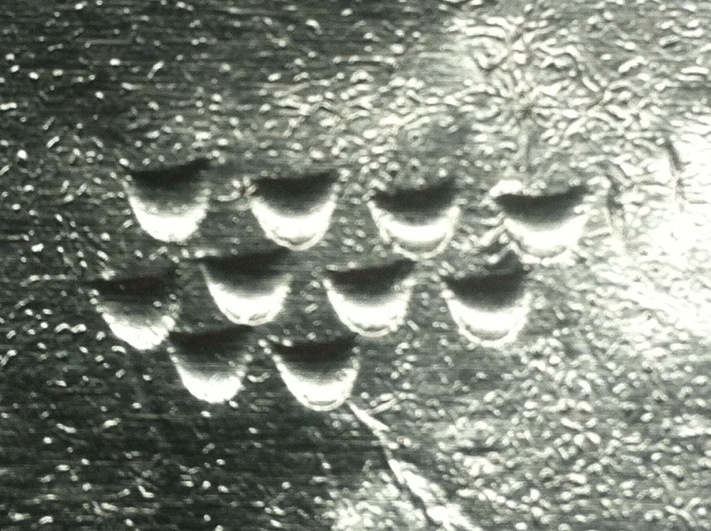
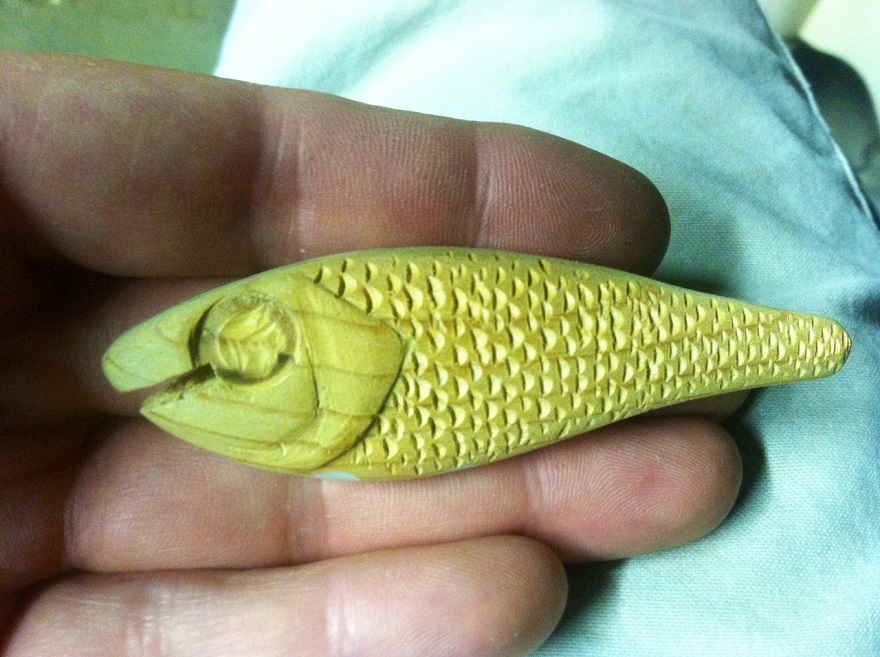
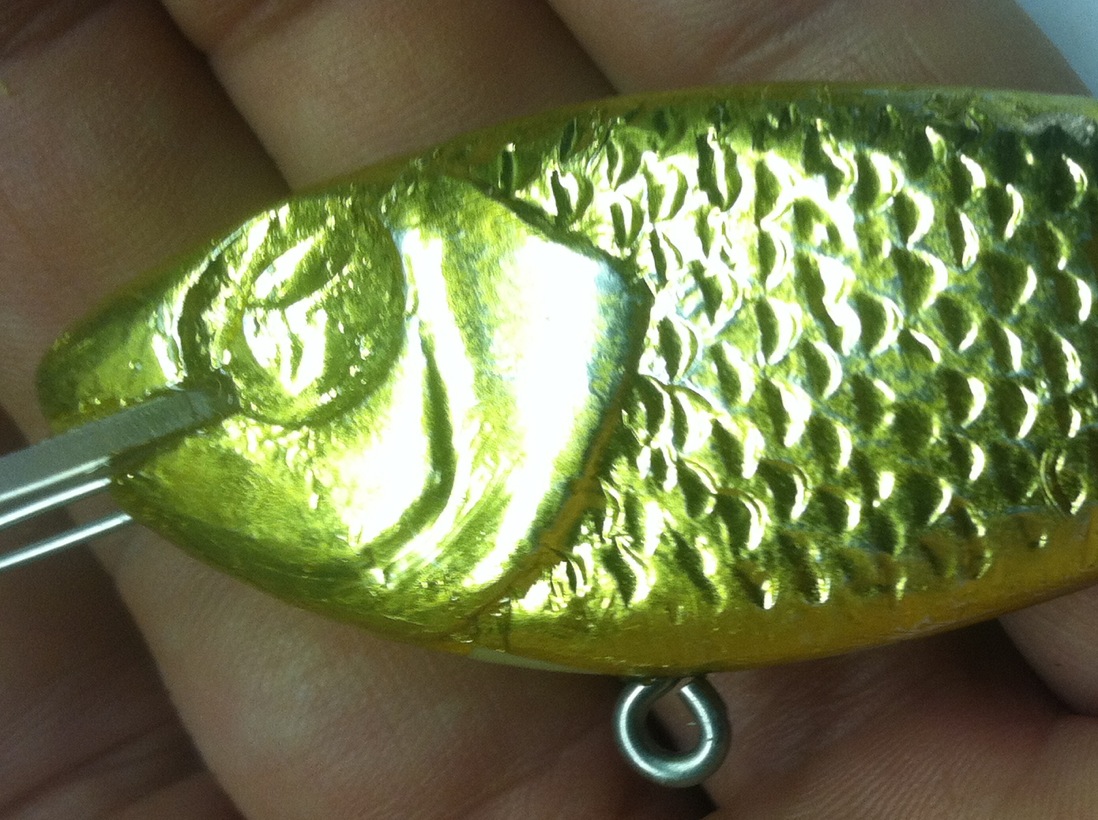
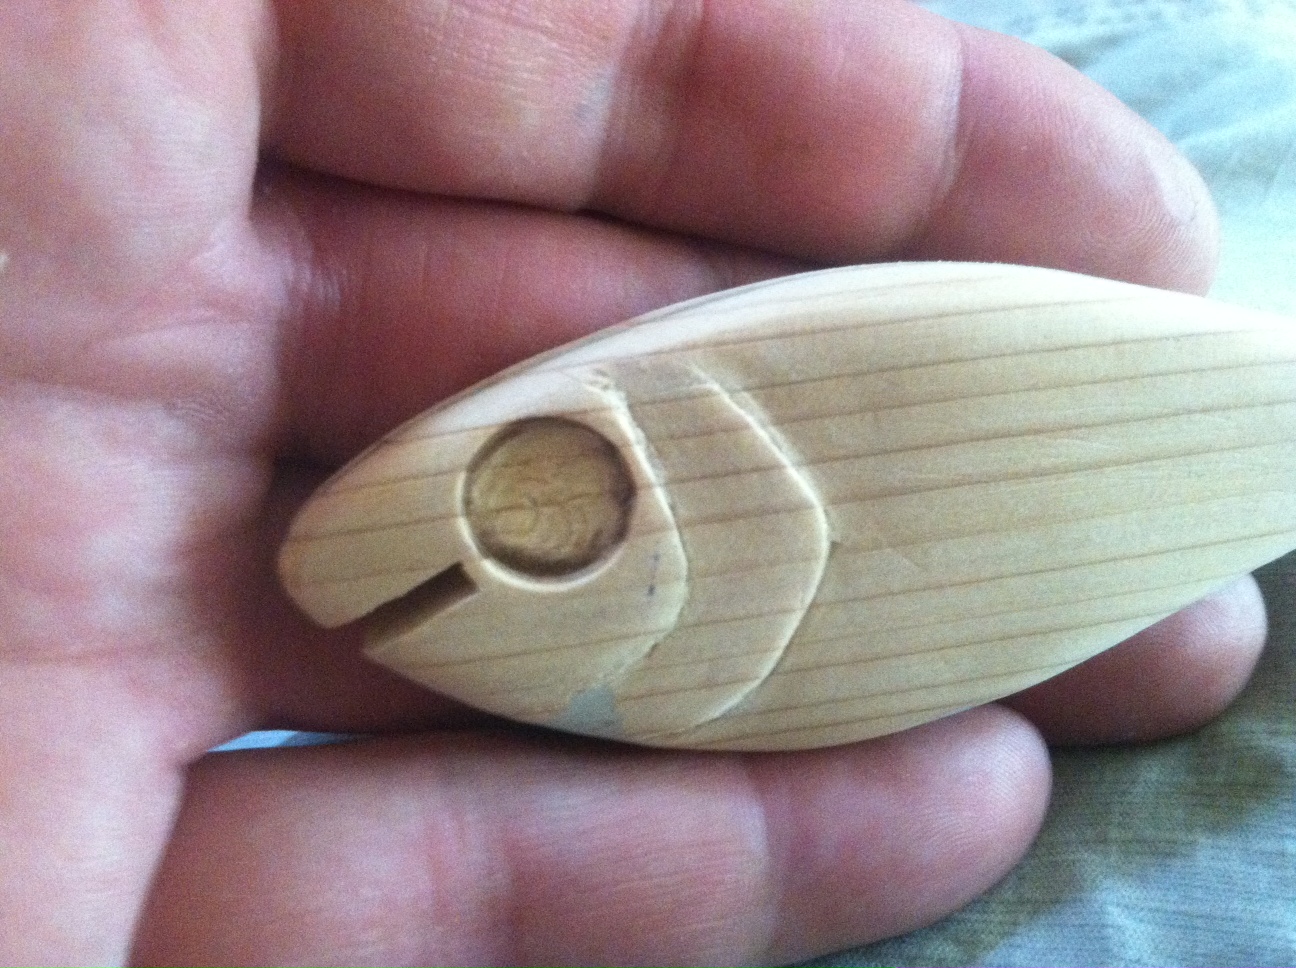
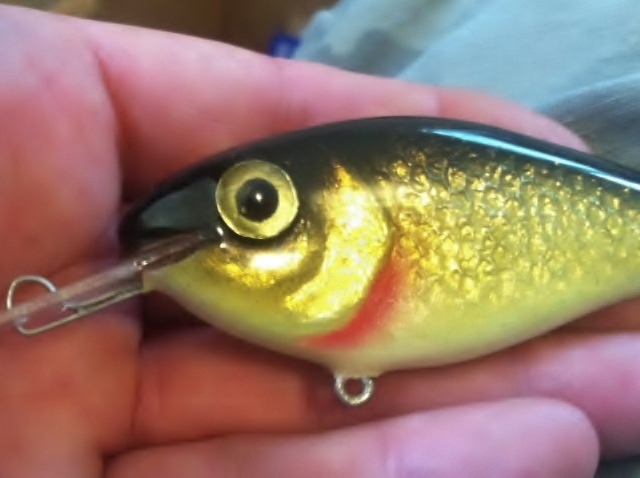
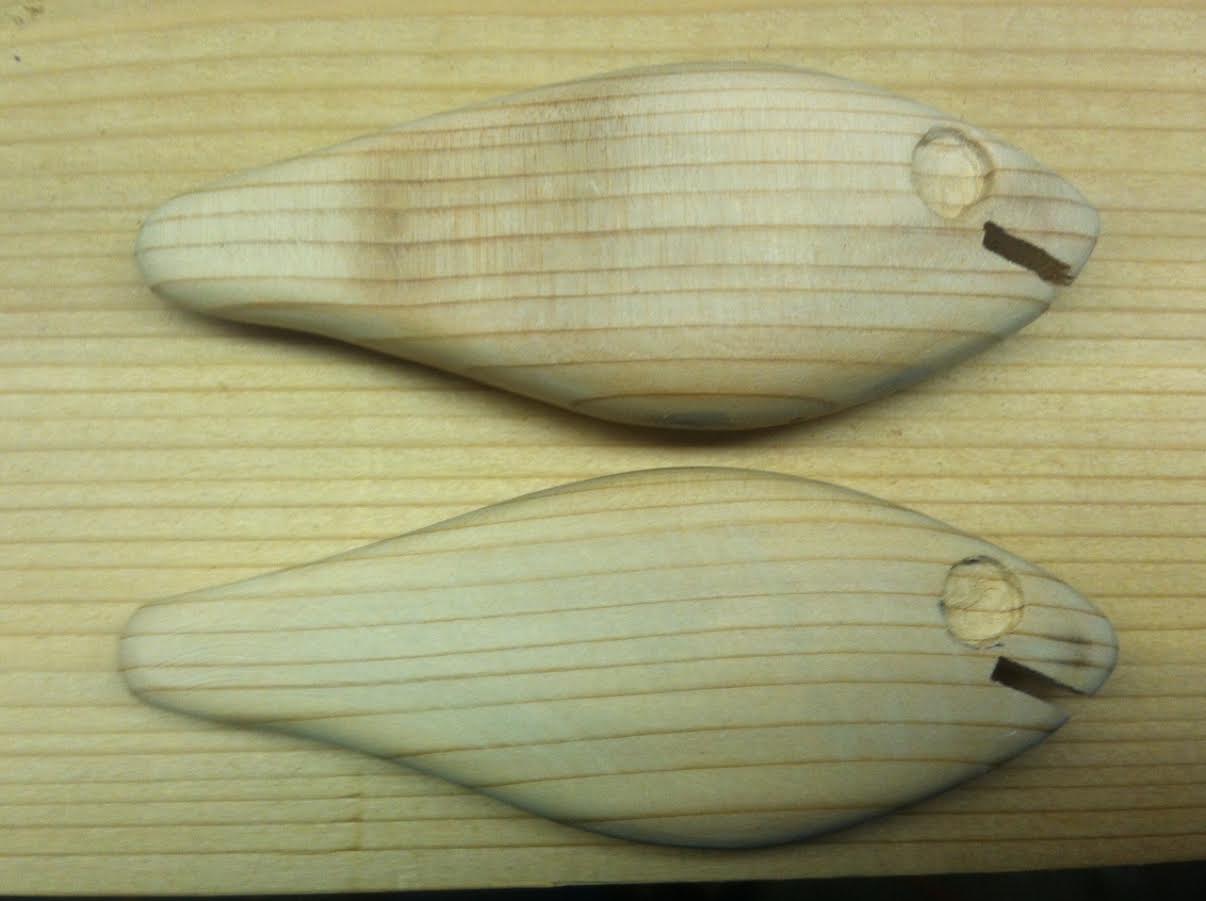
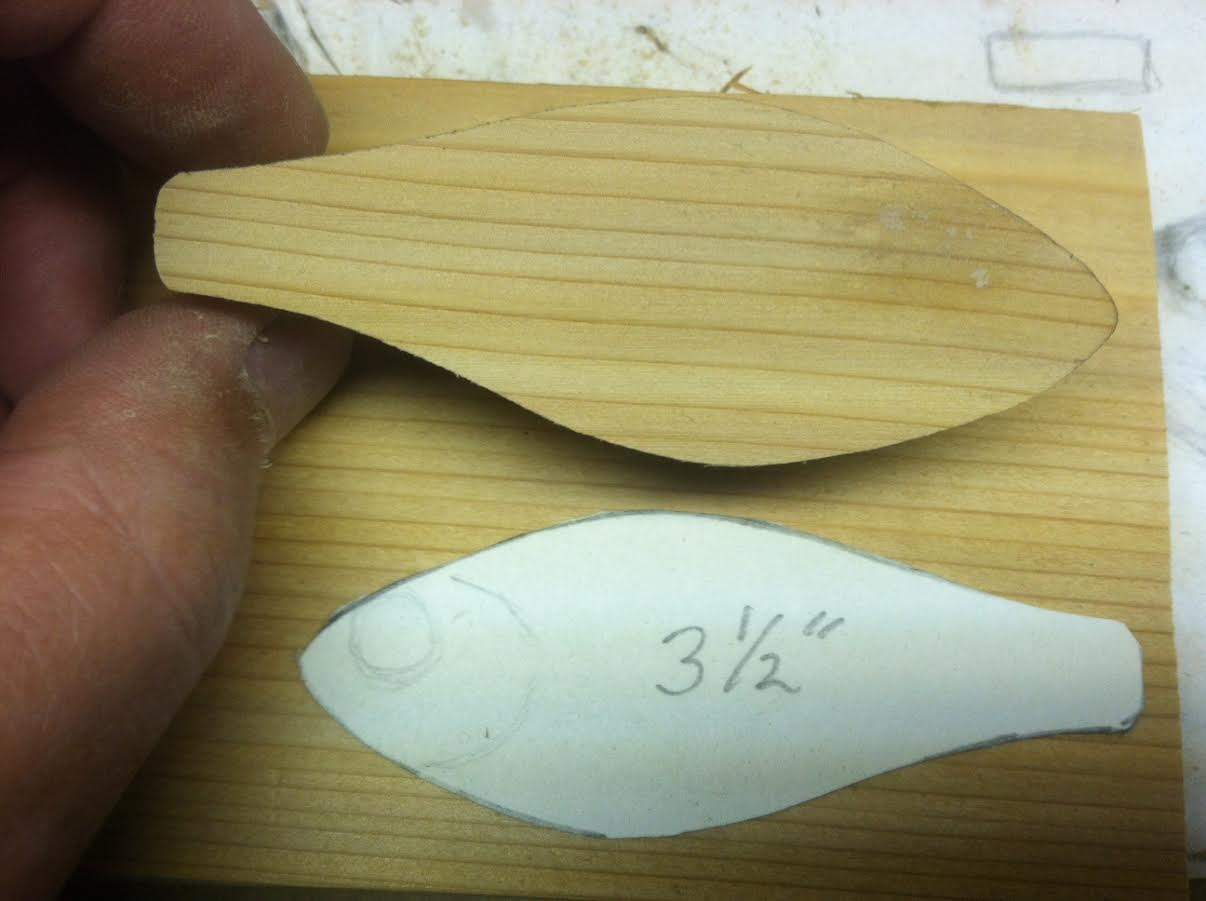
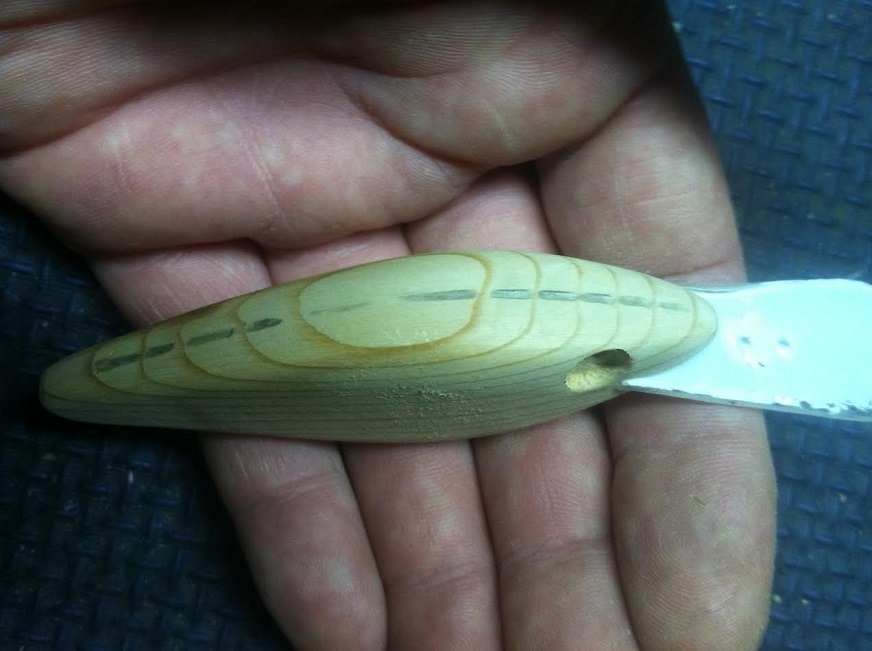
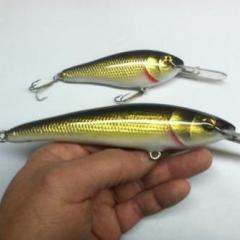
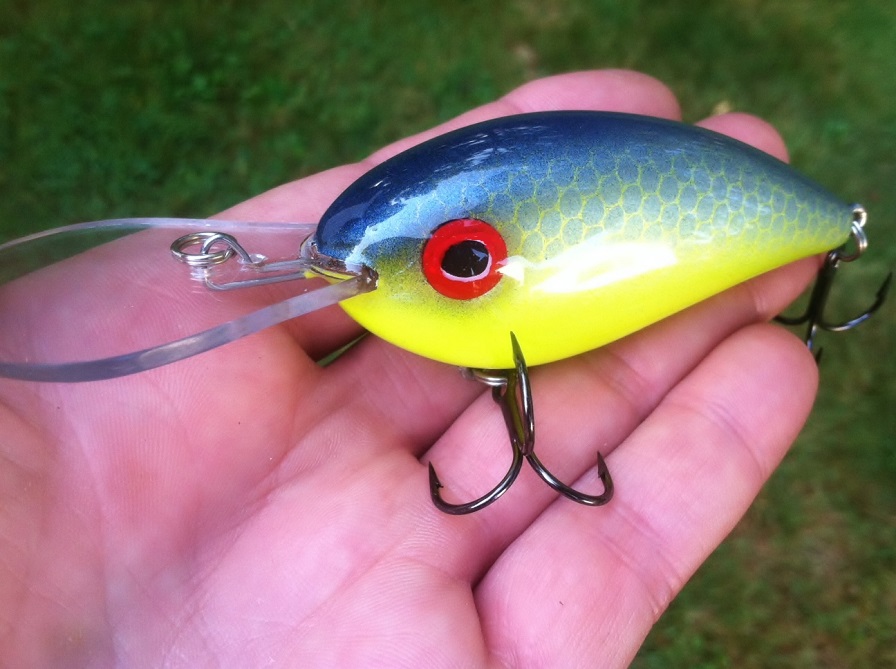
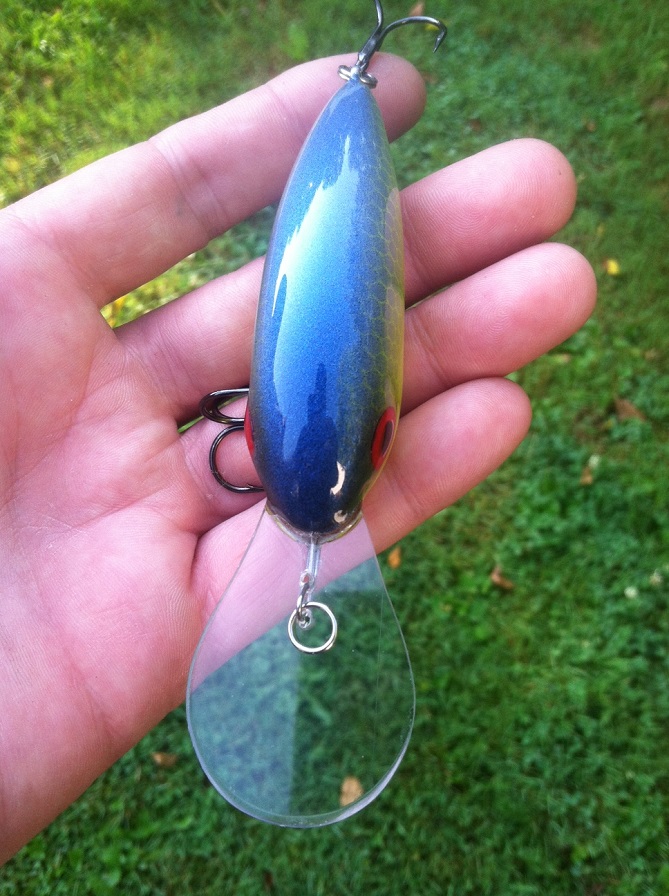
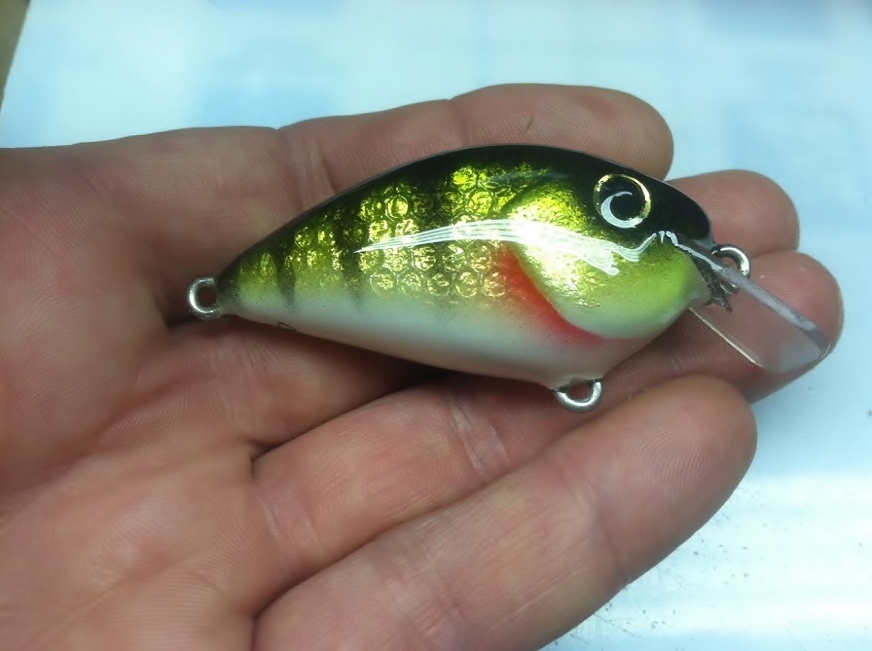
  6. Yes that's correct. These pictures may help. It's just a matter of drilling a hole all the way thru the bait large enough for a single ball bearing to pass thru. Then I make a recess area with a spade bit for the end caps to set in slightly below flush. The end caps can be made out of metal like the picture shows (brass), but now I prefer to use circuit board material as it's easy to cut and shape, and produces a lower frequency knocking sound. They get patched over with epoxy putty and sanded smooth. 
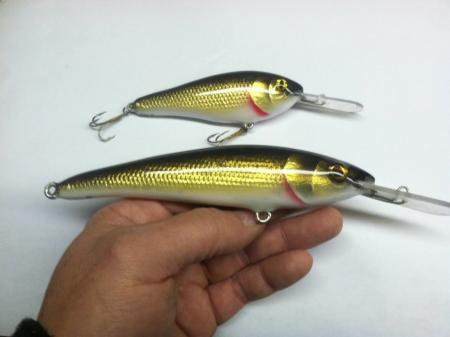
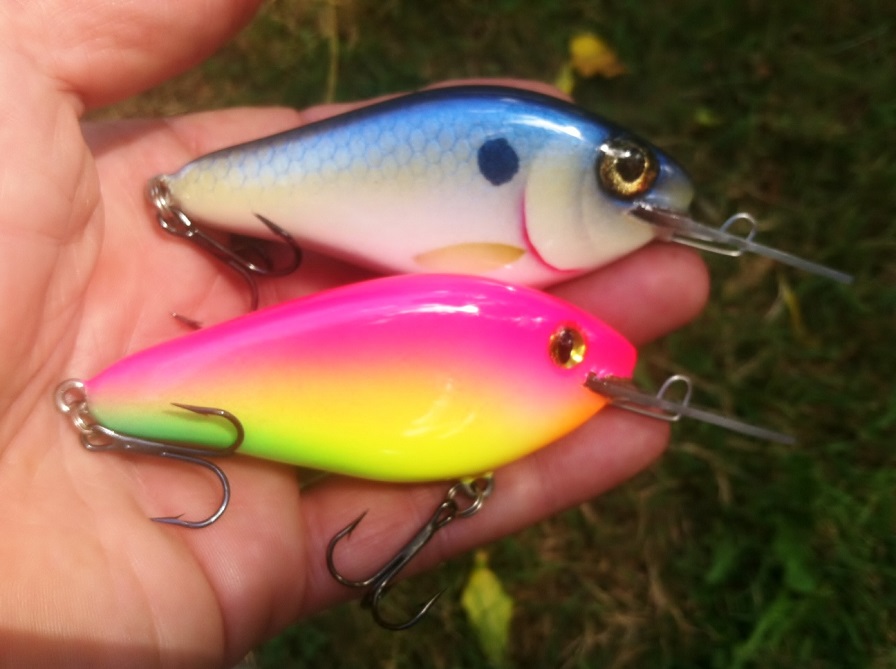
Most rattle baits have a chamber that runs lengthwise along the belly. As they are pulled along at a fast retrieve, the rattles are forced to the rear and don't produce as much sound. These side to side single ball rattlers knock with every wiggle at any speed.
  7. Thanks again. Also wanted to mention that these are done using a rotisserie drying wheel in case you didn't know. A must for slow set epoxy.
  8. Thanks guys. I use Envirotex slightly thinned with denatured alcohol to seal my baits prior to painting. After a minimum of 24 hour drying time I sand them with 400 grit to remove any high spots and give them a coat of sealer white to help the paint stick better. After painting I normally use 2 top coats of the Envirotex, unless it's a musky bait which get more.
  9. Thank you! Kind of you to say that. Here is a new 3" foiled cedar bait that just came off the wheel.
  10. A new pair of cedar mid divers.
  11. Thanks Crypt! Here is a new 1.5 squarebill and a 3" deep diver that I just finished. Both done in cedar.
  12. Thanks a lot Sam. Much appreciated! Here is a new way that I found to make scale patterns on my foiled baits. This is a cone sanding bit on a Dremmel tool. When held at an angle, it makes perfect scale shapes with one light touch. It's quite a bit faster than carving individual scales with an exacto knife or cutting out and gluing down a netting material. This is my first attempt at a foiled bait using this method. A bit more practice making straight lines and I'm sure it will look even better.
  13. A 3 1/2" foiled cedar bait that I recently finished.
  14. There are several factors involved in the action of a crankbait. It's really hard to give you any answers or tips without seeing what you are dealing with. Maybe you can post some pictures showing your baits and it will open things up for discussion.
  15. Thanks Buzzed! The new purple shad was put to the test and caught some nice bass last night. This was the biggest.
  16. A couple new 1.5 cedar squarebills. This pink bait has been hot for LM this year. I'm in the process of painting some walleye baits in this same color scheme. The shad is painted in pearl and iridescent colors, which is impossible to accurately show in a photograph. The back is dusted with Createx Chameleon Gem Sapphire that only appears in direct light. Very cool how it vanishes and reappears as you move it around. Notice how it only shows up on the head in this picture, even though the whole back is covered with it.
  17. Thanks Pro Logcatcher. Now if only I could produce them as fast as the major companies. Much like fishing, making baits is a labor of love and requires a lot of time and patience.
  18. Very kind of you to say that. Thank you!
  19. A few of the nice Ohio bass caught on the squarebills this week.
  20. 6 1/2 and 3 1/2" cedar baits in the works.
  21. And a new 1.5 cedar squarebill. There are 9 different colors in this bait.
  22. Thanks a lot buzz and linx! Nighthawk, the foil I used on these is gold leaf which is available at most any craft store. It drives me crazy to work with at times, but it's great for visibility and flash in the water. The stuff I get is at Pat Catan's and comes in 8" squares. Gold on one side and silver on the other. Here is a new musky (or bass) bait that I just finished. It's a 6 inch cedar body.
  23. Bait making has led into some unusual requests for other projects. Lately I've been asked to do this Rice Krispie fish base for a cake topper, and a walking stick that I painted in a copperhead pattern. Who knows what I will get into next.
×
×
  • Create New...

Important Information

We have placed cookies on your device to help make this website better. You can adjust your cookie settings, otherwise we'll assume you're okay to continue.