Jump to content

Baitmaker

Members
  • Posts

    275
  • Joined

  • Last visited

  • Days Won

    2

Everything posted by Baitmaker

  1. X 2 on what Dreveal said. For light scratches, I've used wet sand paper with pretty good results by making circular motions and stepping up to finer grit. 400, 600, and 1000 is what I used and then buffed out with a polish. Mothers chrome polish actually does a pretty good job on Lexan, but deep scratches will still be visible.
  2. Yes. Those and metallic paints can also be challenging with low PSI
  3. X 2. White opaque Createx and even Wicked paint is especially thick and needs reduced to flow properly at low PSI. I typically do much of my detail and closeup work at 15 or lower psi but go with 30 or more to lay down my base coats. I mostly use 4012 Auto Air reducer. Some paints such as transparent colors can be sprayed straight out of the bottle without reducer, while others like opaque white may need as much as a 50/50 mix to spray well at 15 psi. The consistency that I shoot for is basically like skim milk. After a while you can just look at it and know without measuring or following a specific ratio.
  4. Very nice!
  5. Completely agree with the other compliments here. For such a small area to work with that's a very nice job, especially for a challenging paint scheme like pumpkinseed. Looks killer!
  6. My method may not translate well on a smaller jig body, but I begin with a white base coat. Then lightly dust the back and shoulders with black. I then wrap them in mesh material and spray white pearl over the sides to get a subtle scale pattern. Once the mesh is removed, I spray a light thin stripe of gold pearl along the lateral line and then paint my black spot. My gill plates are done using a C shaped stencil that I cut out of paper. A very small amount of black sprayed lightly along the edge of the stencil makes the gill plate. It's the best way I can describe it so I hope it helps. It may be something you'd have to see done to get a better understanding.
  7. TY Bass! The eye sockets on those are done with a Dremel sanding bit that has a little concave bowl shape like that. A flat round bit has a tendency to get away from me especially on contours or rounded edges. I then go back and remove the high center spot with a smaller bur. On some foiled baits, the raised pupil looks good the way it is and I will just paint a pupil over the foil. (if that makes sense)
  8. A few new bass and walleye cranks. Again made from red cedar.
  9. Some of my latest cedar squarebills.
  10. A couple more cedar squarebills in firetiger and jet black.
  11. Here are some bubblegum jerk/crank baits I recently finished for bass. These are 4" suspending red cedar builds.
  12. Devcon 2 ton doesn't necessarily require a drying wheel. It sets up fast enough that a single thin coat can be applied while you're turning and rotating it in your hand. Lightly blow on it as you go and it will help pop bubbles. You'll want to avoid touching it for 12 hours or more, but it won't run or sag much beyond 45 minutes after mixing. It claims a 30 minute working time but if properly mixed, the actual working time is about 10 minutes. Even faster for laying it on thin. Takes practice to cover a bait fast and evenly with a thin coat. It's kind of a thick mixture and can be a pain in the butt. Also much easier than you might think to miss a spot. Once it starts setting up and getting sticky, DO NOT try to go back and fix anything. I've found that the best brushes for me are the cheap plastic black bristle ones commonly found in kids art supplies. The hair bristle brushes will shed and get stuck in the finish. I use Envirotex for top coats on my wood baits. It does require a drying wheel, but have used 2-ton to do repaints on plastic baits with good results. Hope this helps.
  13. Another cedar squarebill.
  14. A few of my latest cedar squarebills and a pic of the wood patterns that I make to trace these out. Easier for me to use these than paper or cardboard templates.
  15. Here's a homemade single bladebait mold and a few of the ones I've poured with it so far. These ones are powder coated. Just messing around with something different.
  16. Love it! Nothing wrong with ingenuity and saving money in the process. Regarding your two faced bait, it's always a challenge to get both sides to match identically. Even with the use of stencils and a slow approach. I can't tell you how many of those I've done over the years. Either way, that is a killer looking bait that would be a welcomed addition to anyone's box. Certainly not one that looks like a newbie made it.
  17. Many smaller bass cranks such as the squarebill KVD 1.5's are paired with #2 rings. I would go with #3's on anything larger up to maybe a 4" bait. Hope this helps.
  18. Fish bite much of the time on pure instinctive reaction in the same way a dog chases cars or bites the vacuum cleaner. The action and vibration of a lure is the most important factor IMO, while the color plays a secondary role in most cases.
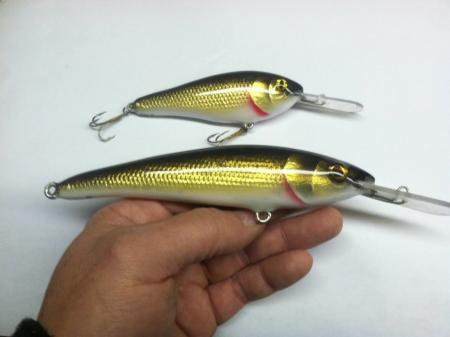
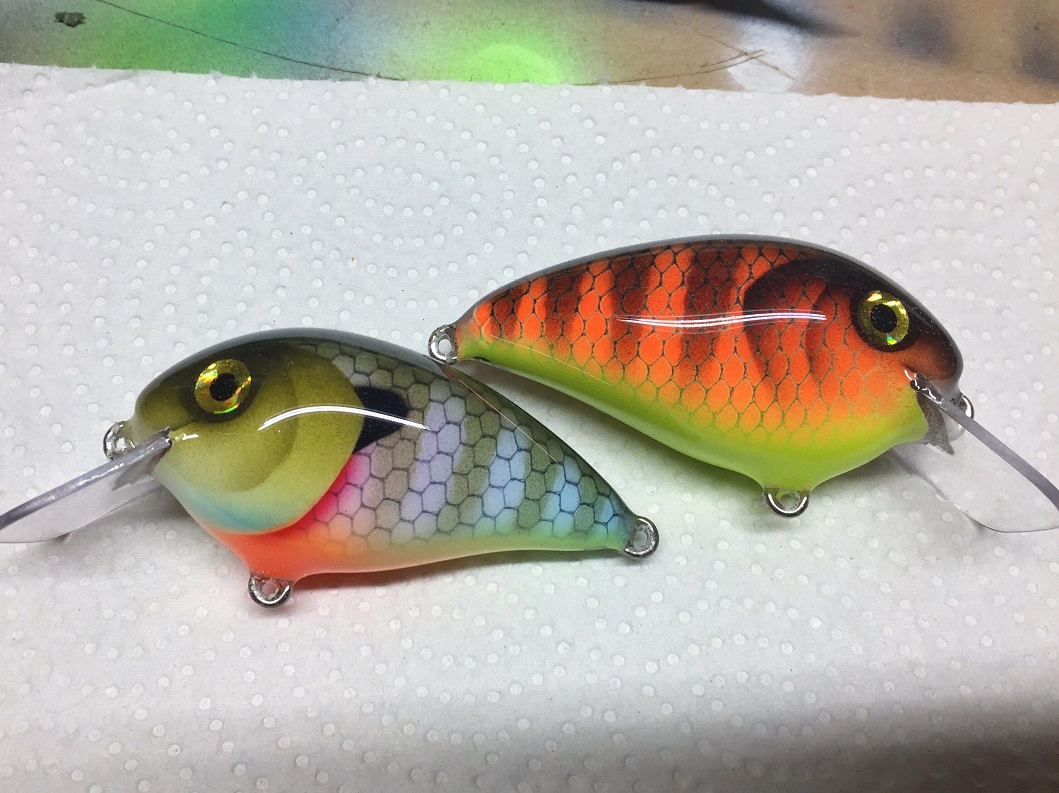
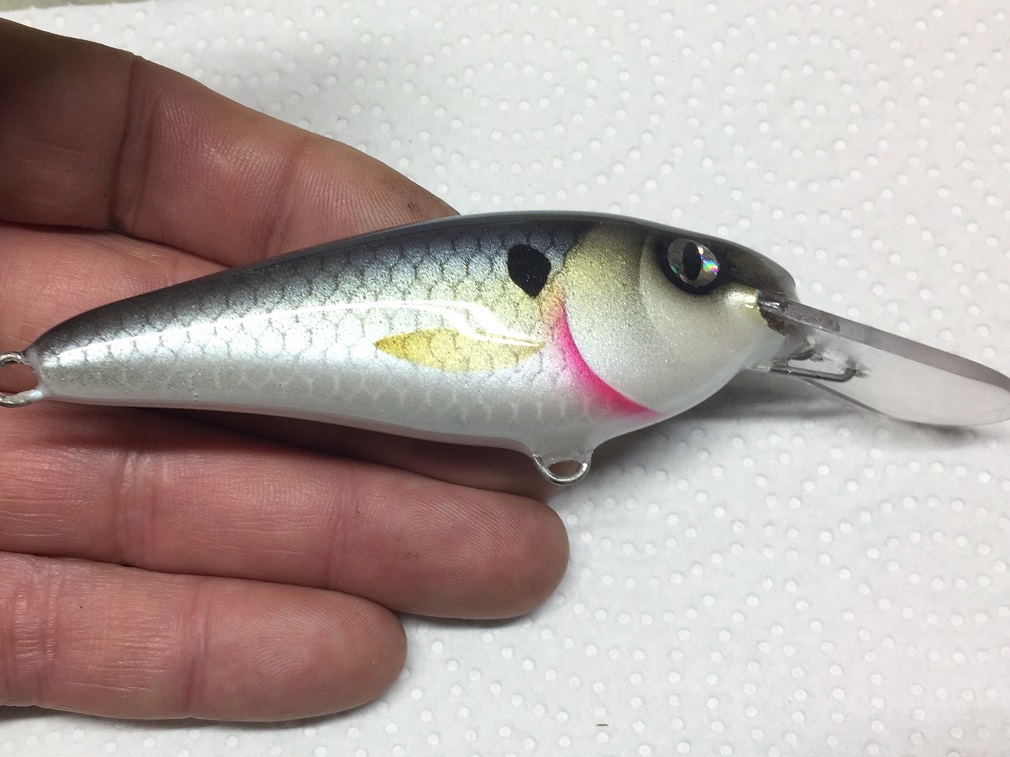
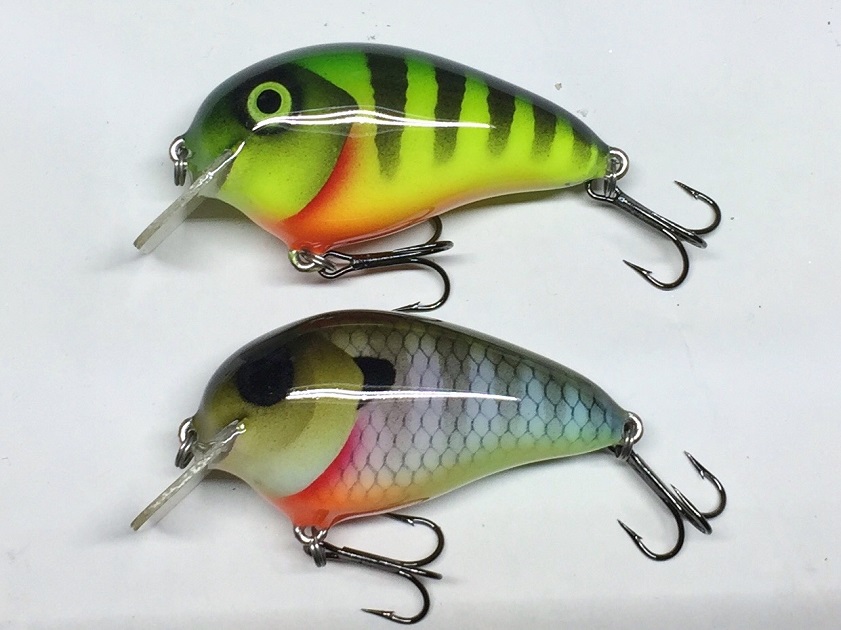
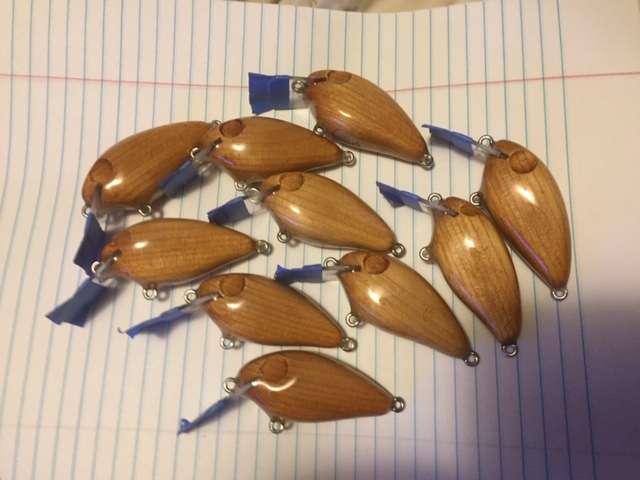
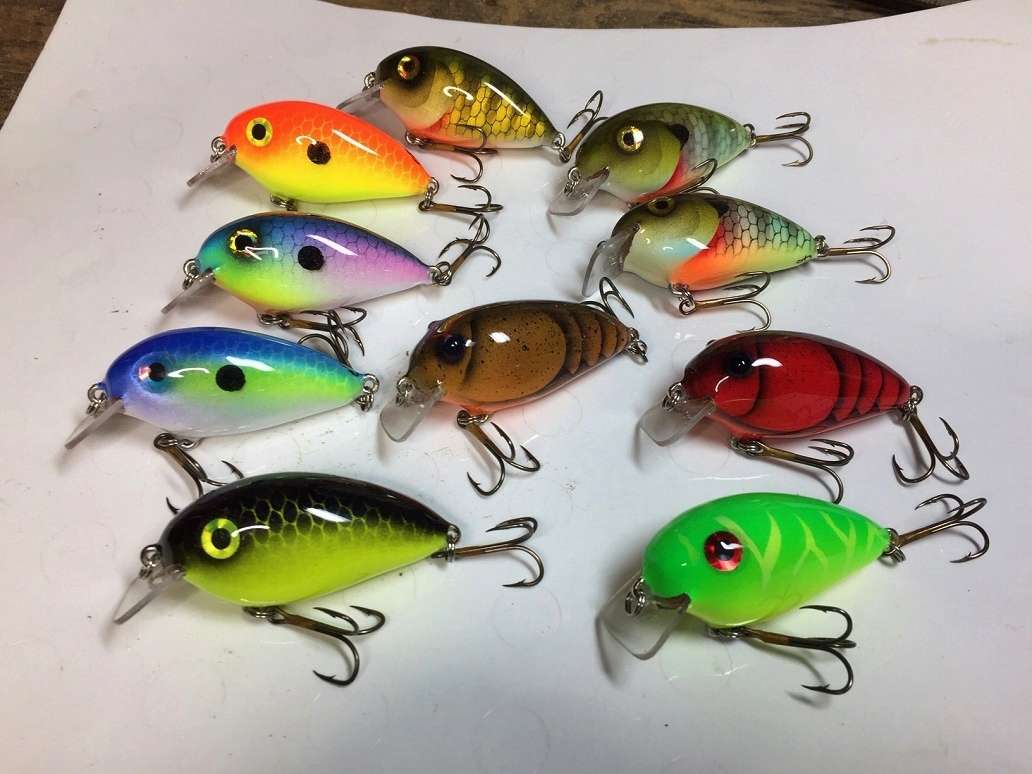
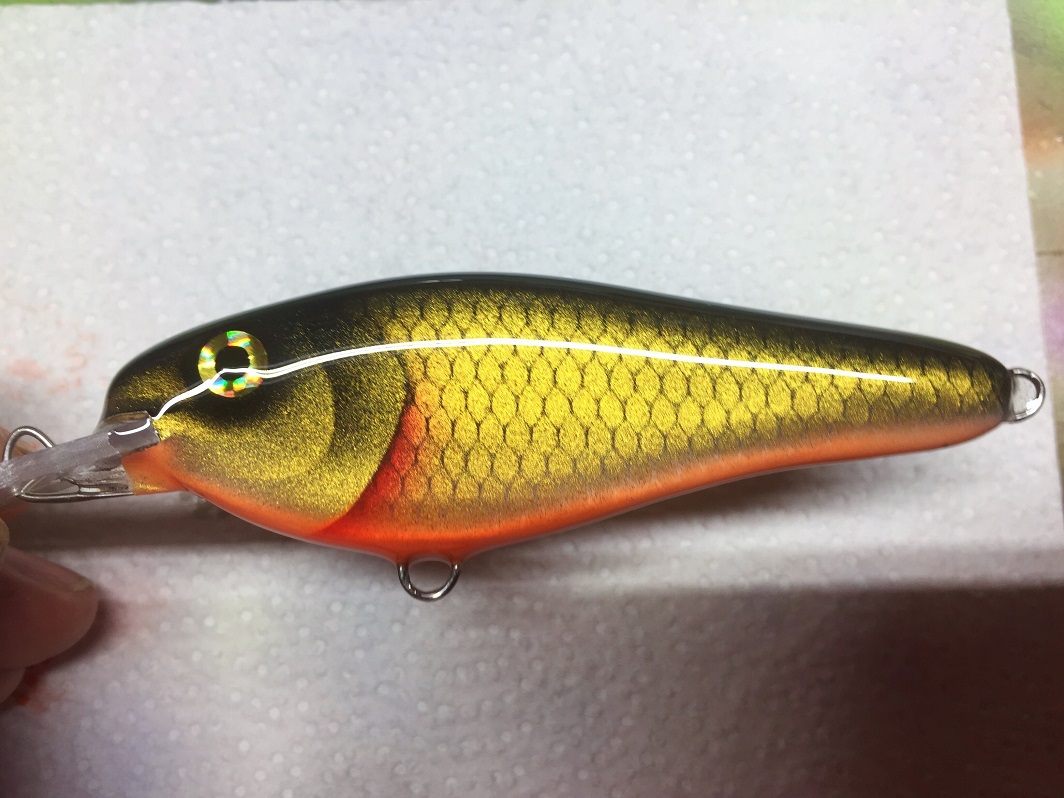
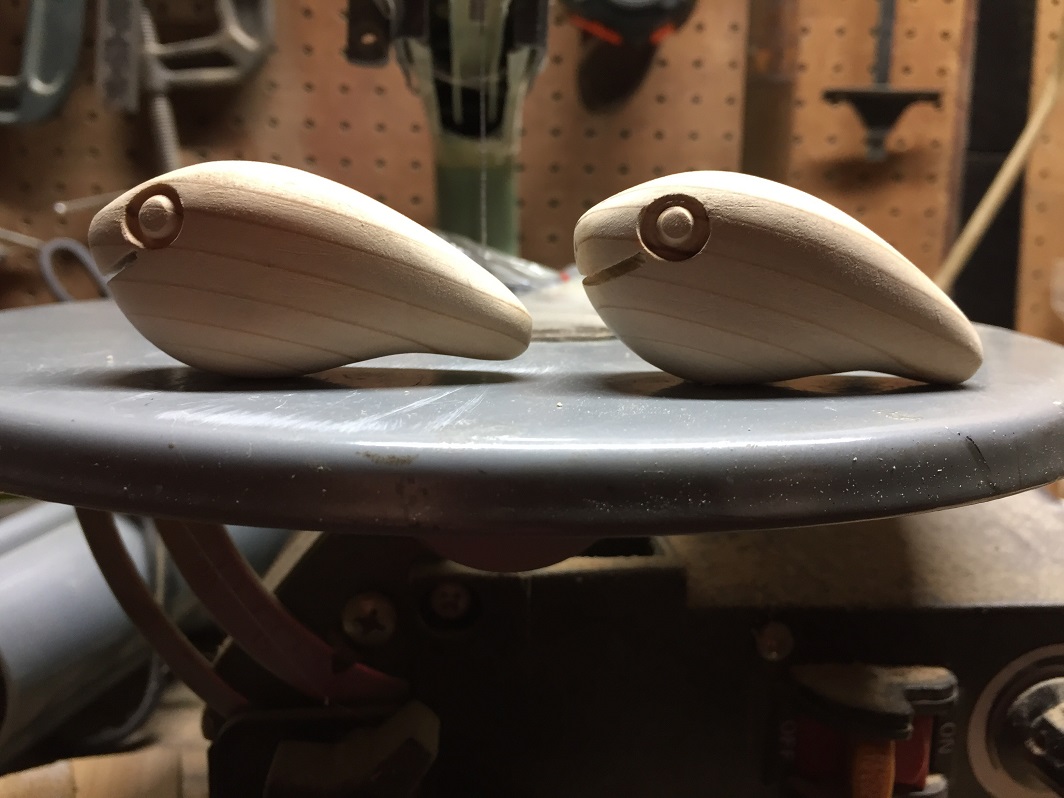
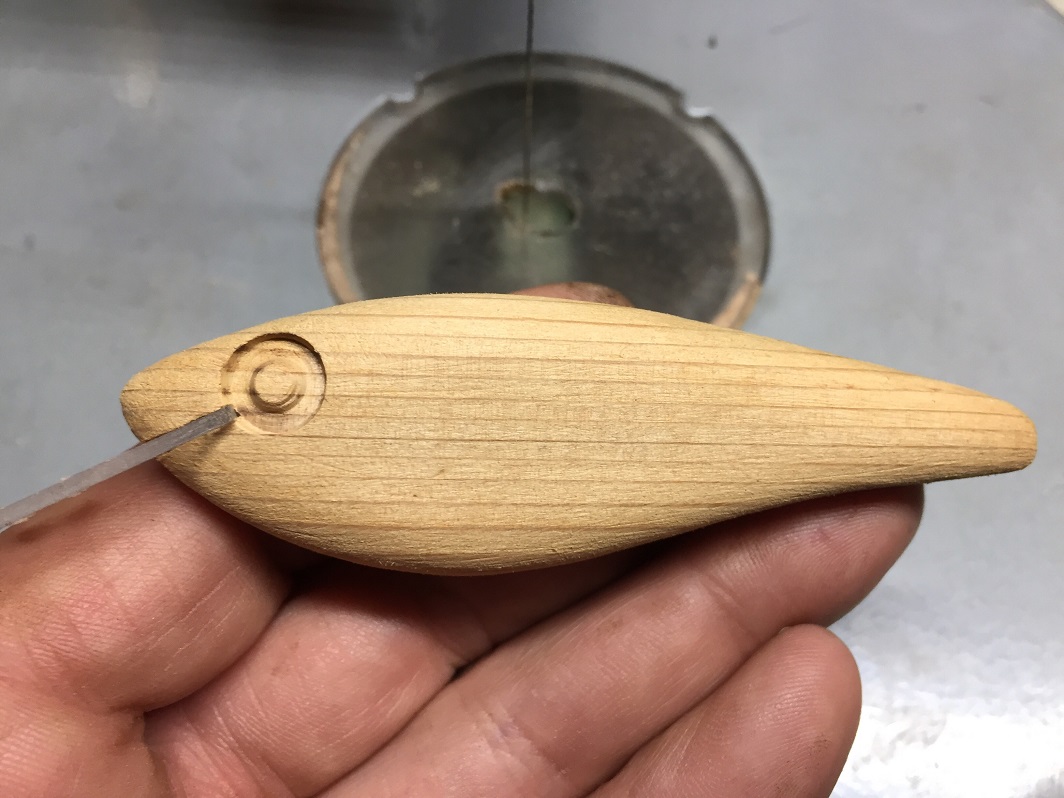
  19. No wood expert here, but I've experimented with Red and White Cedar, White Pine, Balsa, Cherry, Basswood, Maple, and Poplar. Western Red Cedar is all I've used for several years now and am most familiar with. Each wood type has their own degree of buoyancy, so the weighting can be different from one to another. I like cedar because it's quite buoyant, but much harder than balsa and white pine while still being fairly easy to work with. It also has a low moisture content and a natural resistance to water and decay. The downside to working with cedar is that the dust is hard on the sinuses and can be pretty unhealthy to breathe. I hope any of this helps. Maybe others can chime in with more detailed specifics or comparisons between pine and cedar for bait making.
  20. For sure. Much of my portrait work is highly detailed and I have spent weeks and even months on a single piece. Building and painting baits is a nice change of pace from that.
  21. Well you are off to a great start! I am a portrait artist also and fell into making baits easily as it combines my two favorite subjects, which are art and fishing.
  22. That's awesome! Glad to hear that others are enjoying this satisfying, if not downright addicting craft. That looks much better than my 2nd attempt many years ago. You have the knack for it to be sure! Very nice job! Please continue posting your work.
  23. Thank you! Here's a pic I took of them before paint.
  24. Good looking stuff everyone! Here's a new batch of cedar squarebills.
×
×
  • Create New...

Important Information

We have placed cookies on your device to help make this website better. You can adjust your cookie settings, otherwise we'll assume you're okay to continue.