Jump to content

nixdorf

Members
  • Posts

    41
  • Joined

  • Last visited

About nixdorf

  • Birthday 12/03/1980

Profile Information

  • Gender
    Male
  • Location
    North Alabama
  • My PB
    Between 7-8 lbs
  • Favorite Bass
    Largemouth
  • Favorite Lake or River
    Lake Guntersville

Recent Profile Visitors

588 profile views

nixdorf's Achievements

Minnow

Minnow (2/9)

19

Reputation

  1. Hi folks, I'm nearly done recarpeting my 2004 Tracker Pro Team 185; the boat looks amazing. I've been at this for about a month and thought I'd share a few things I learned along the way before I forget them. I did a lot of research on how to recarpet a boat before I started. I read multiple articles and watched numerous YouTube videos. I suggest you do the same if you're thinking of replacing the carpet in your boat. Having said that, I didn't see most of the items below mentioned (or at least they didn't sink in!). I thought I'd post what I learned from my experience in case someone else was thinking of replacing the carpet in their boat. To be blunt, some of the lessons below may (should?) have been obvious. I can now laugh at some of the mistakes I made that should have been obvious. Having said that, hopefully someone else may learn from my experiences. Plan for the job to require a lot of time and effort. I'm a month into the job and am close to done. I have 6 more pieces of aluminum from rod lockers to recarpet before I finish. I've worked on it for 3-4 hours a day, 3-4 days a week for the last four weeks. Call it 50 hours invested so far, with another 5 hours left to go. I thought I could finish in two weeks, but clearly mis-judged it. Even thought it is taking longer than I thought, I'm still really glad I started. My 12 year old boat looks just a couple years old now. On a related note, I had a very understanding friend that I hit the water with a few times in his boat while mine was in pieces. Gotta get that fix of time on the water! 
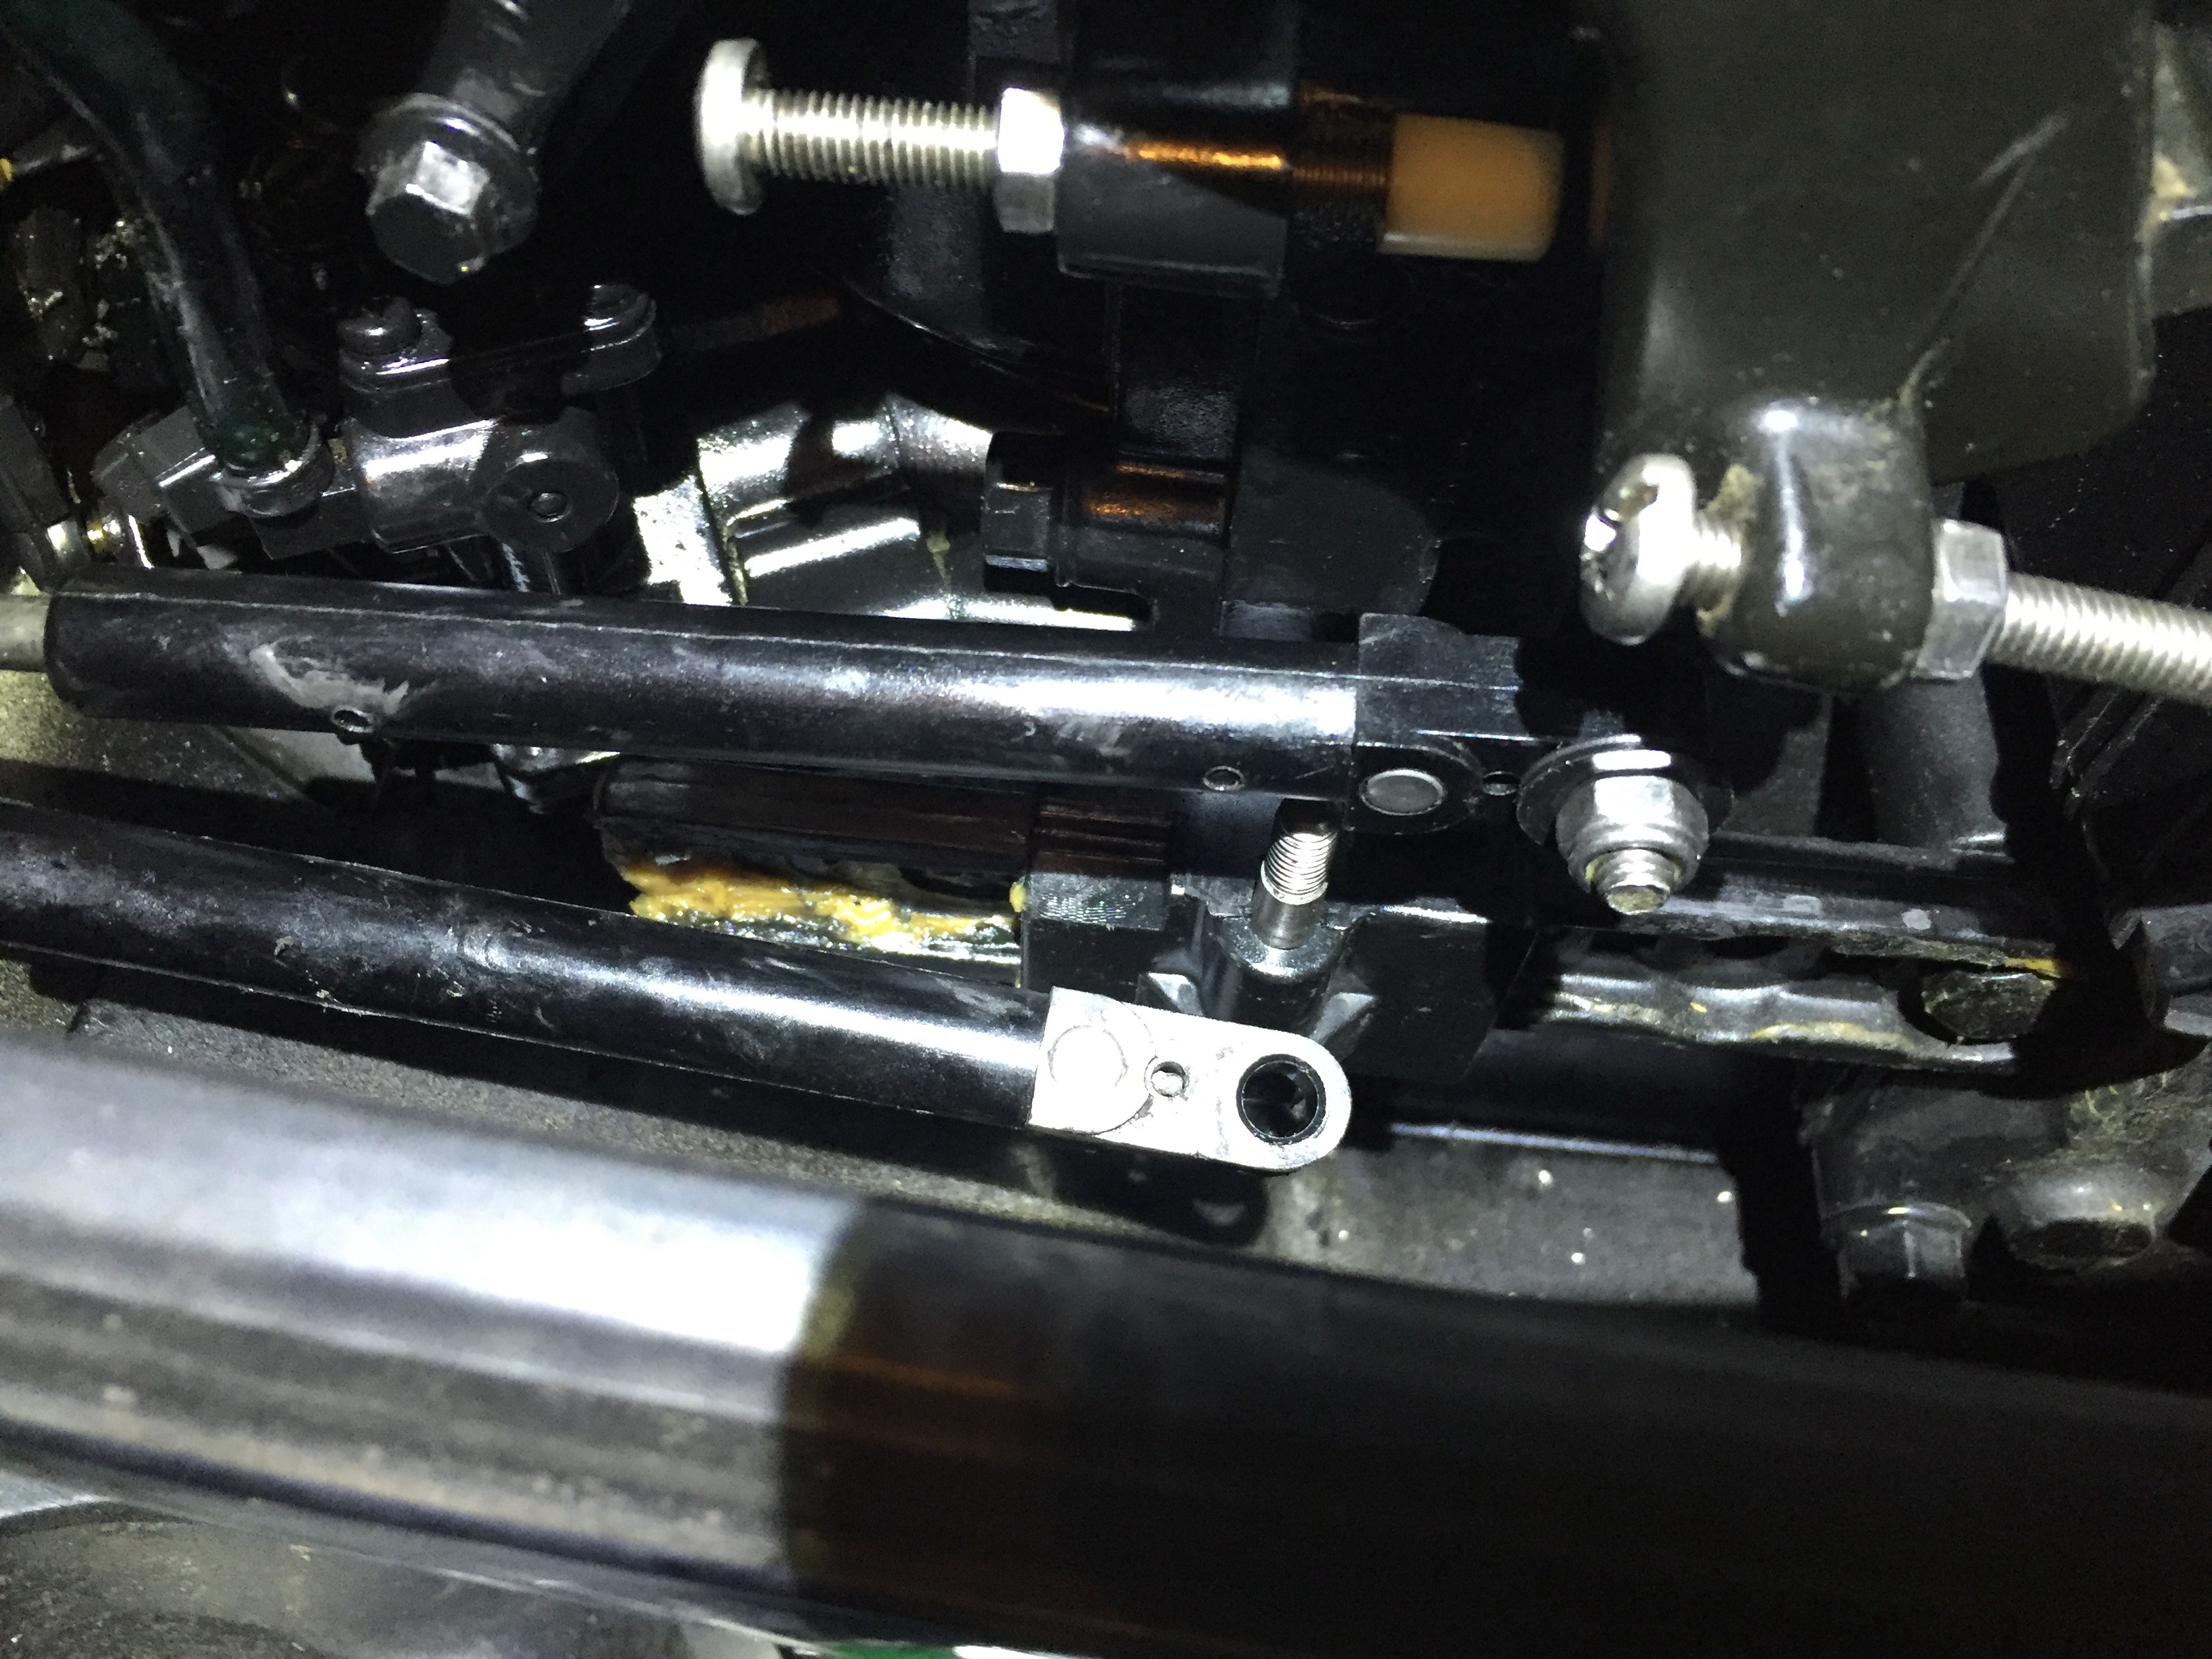
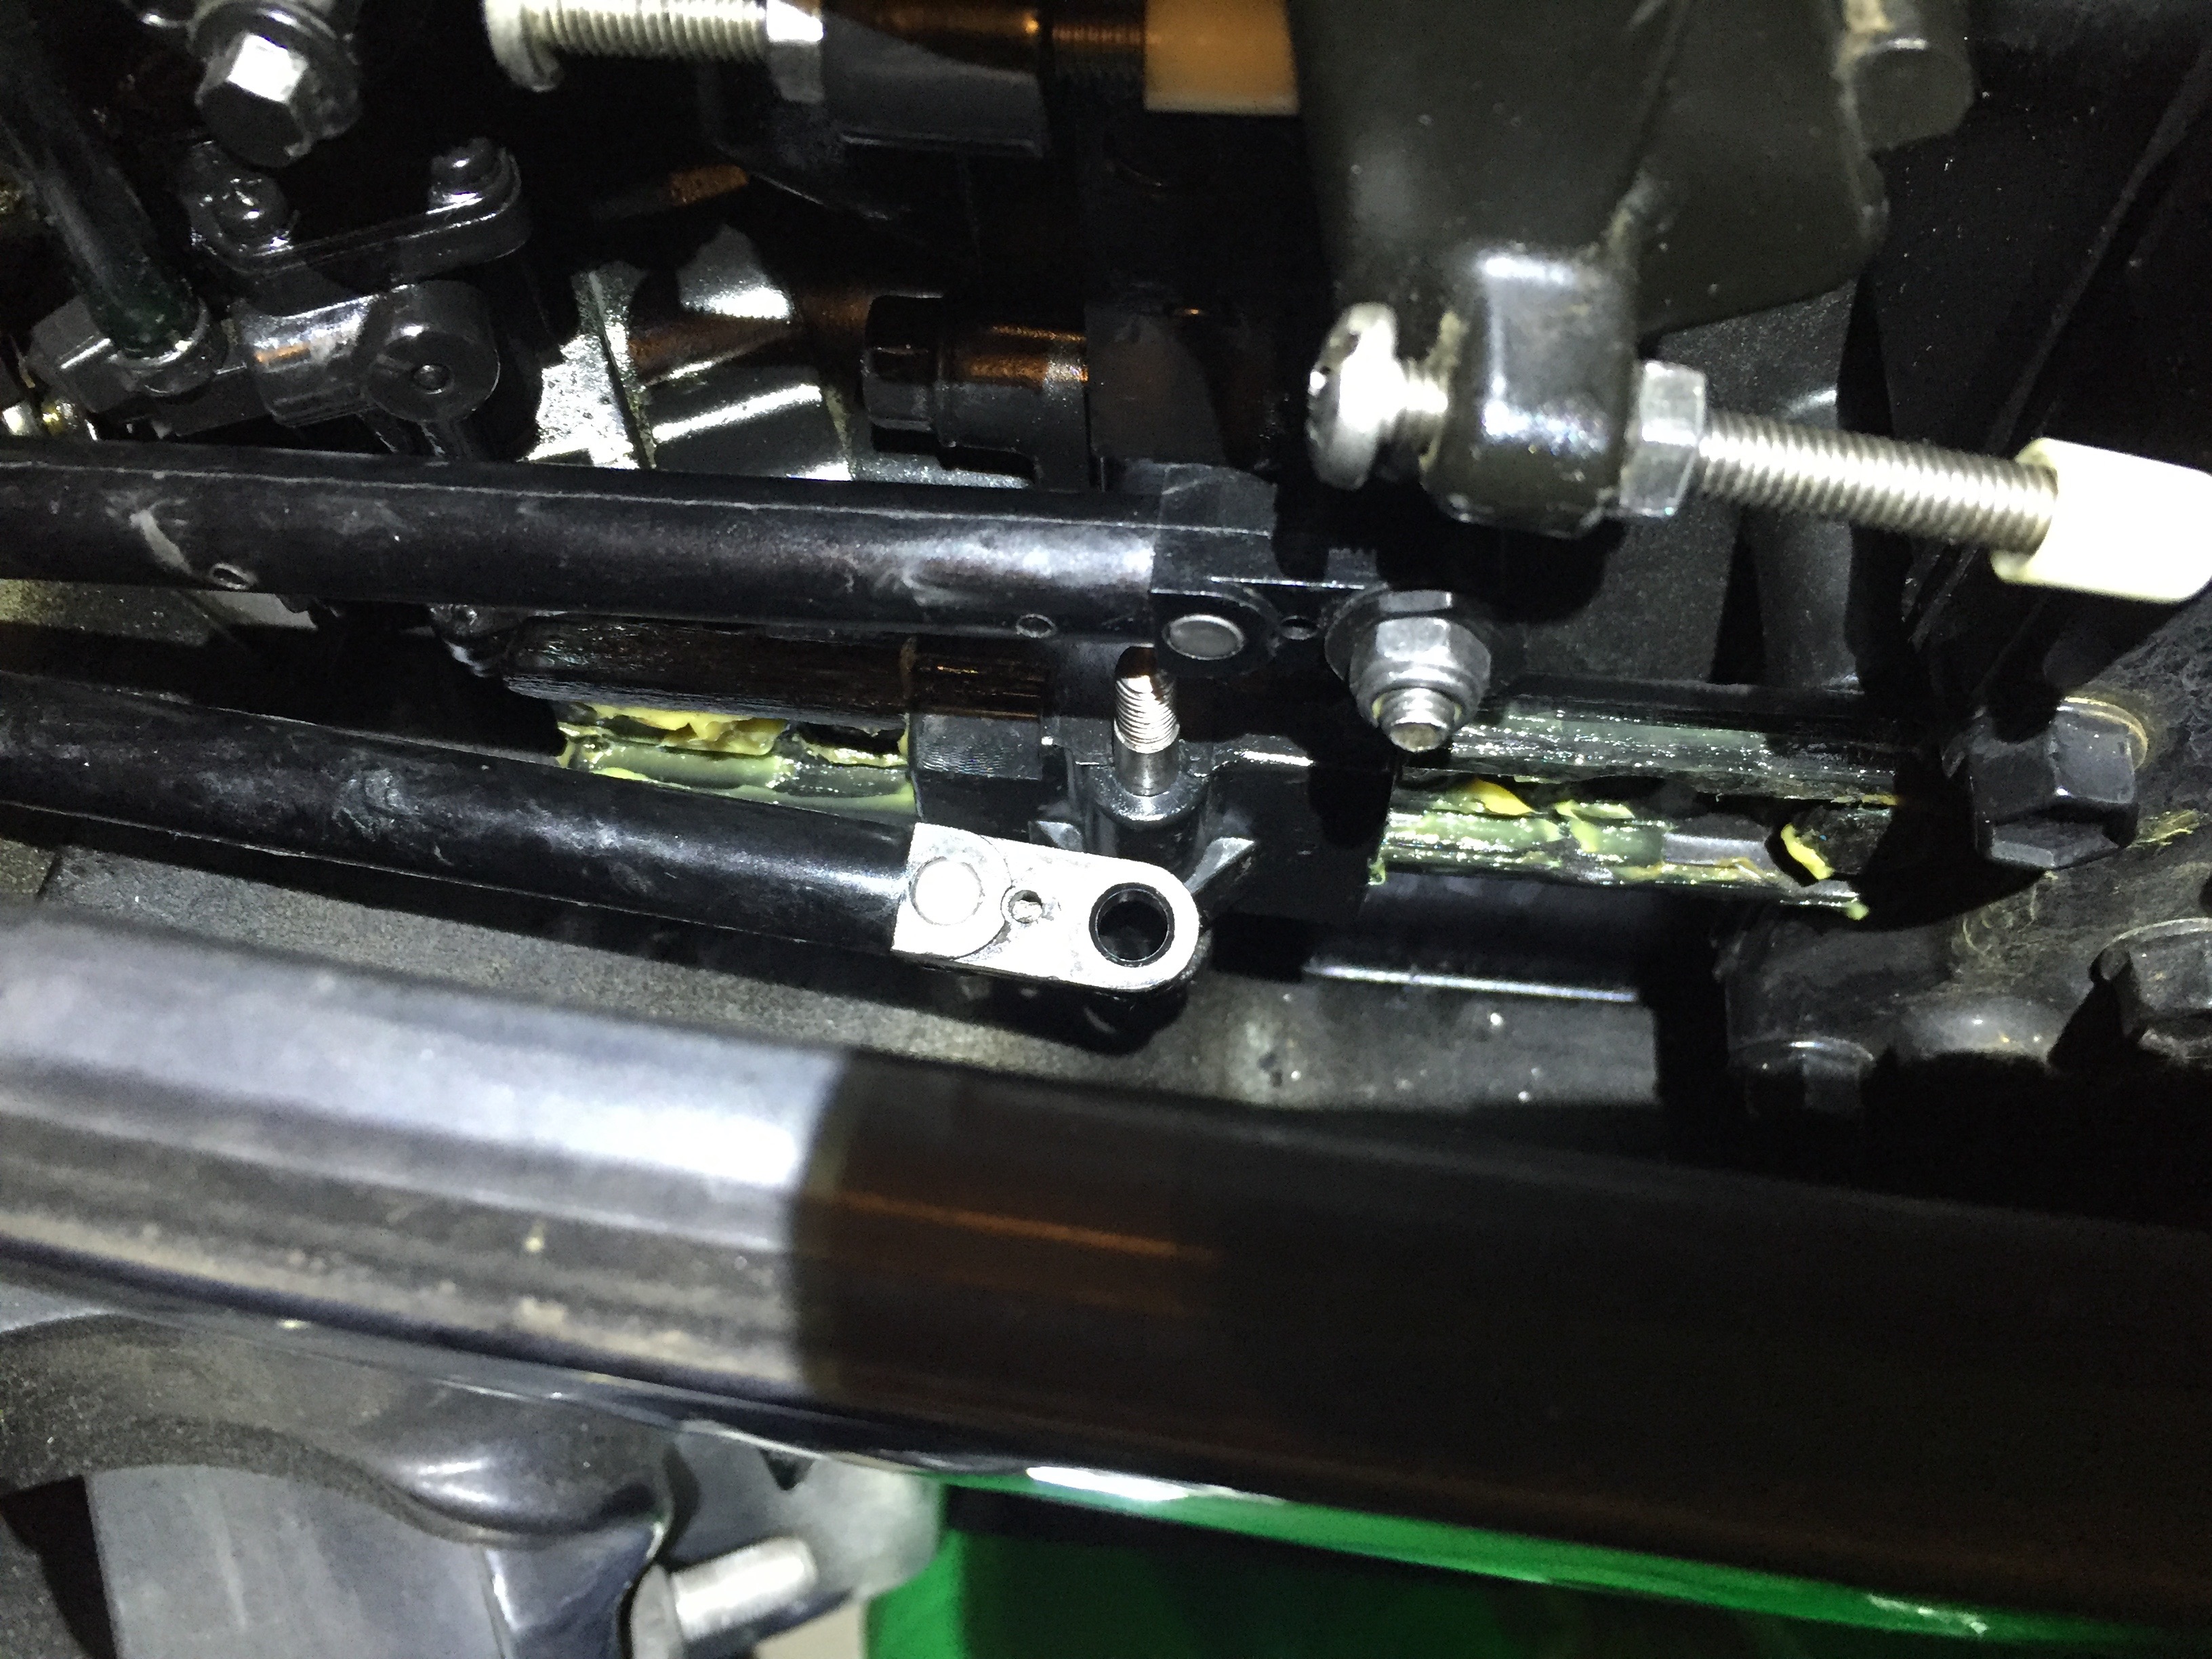
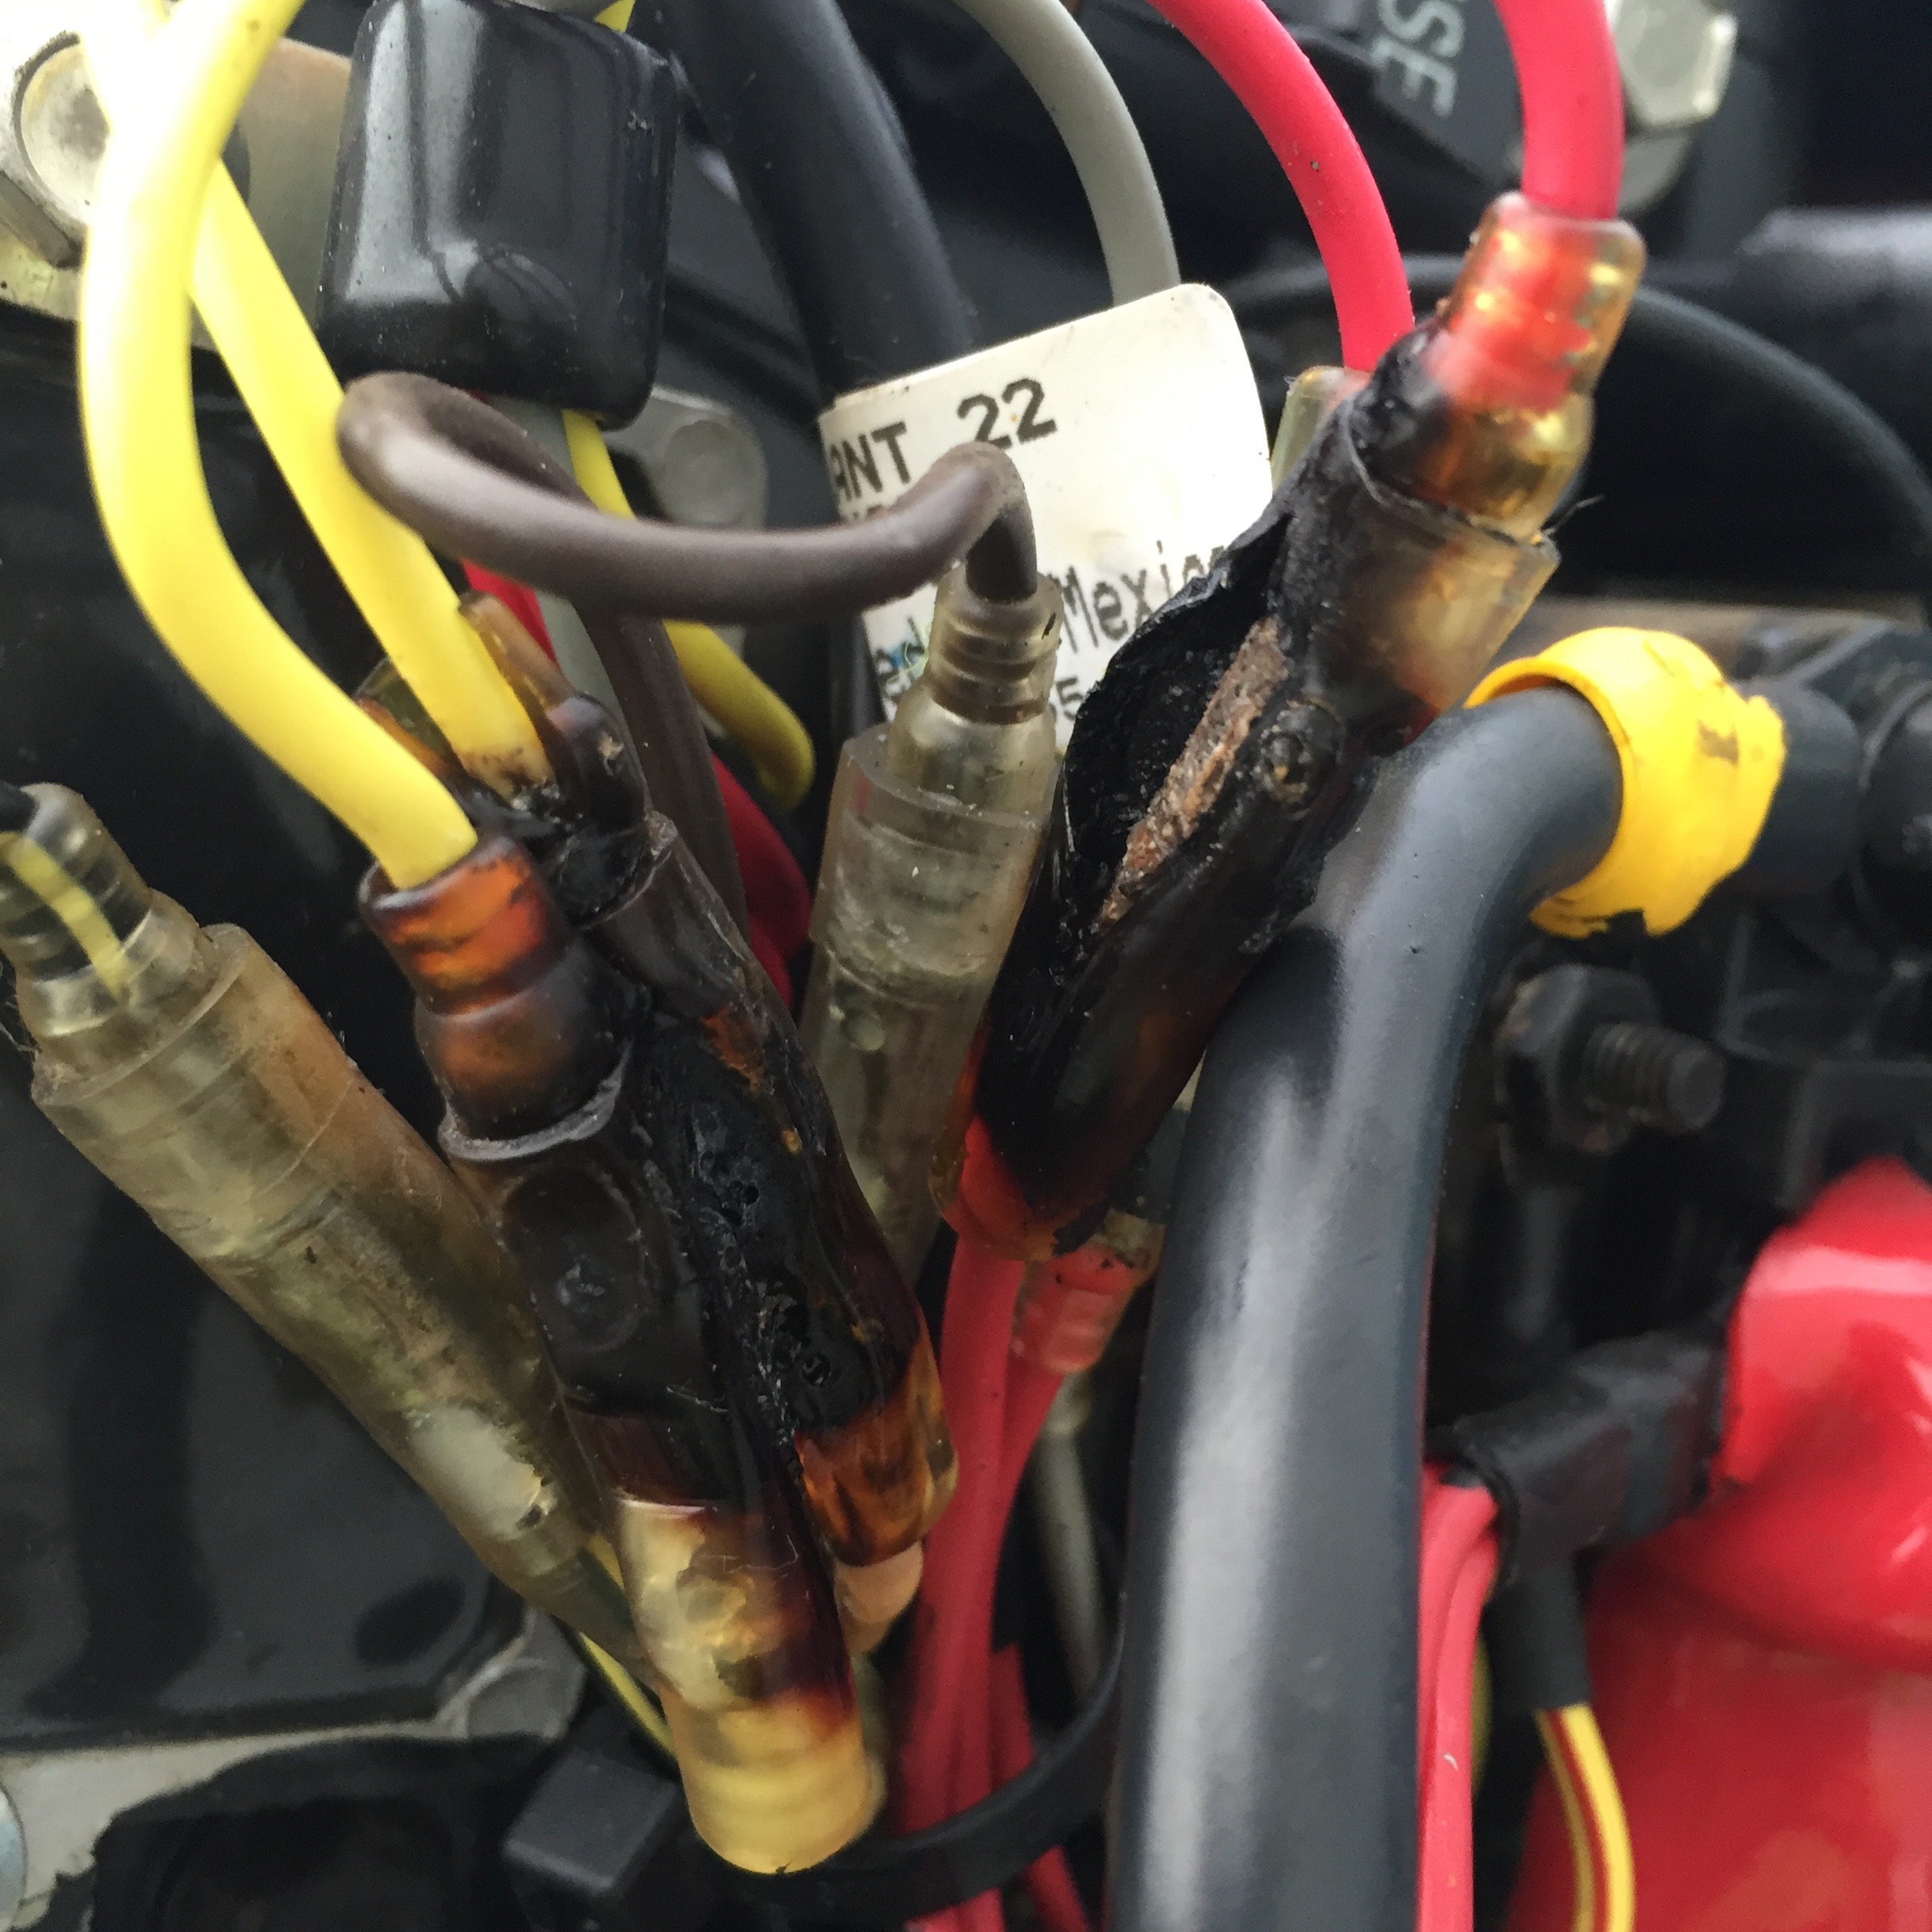
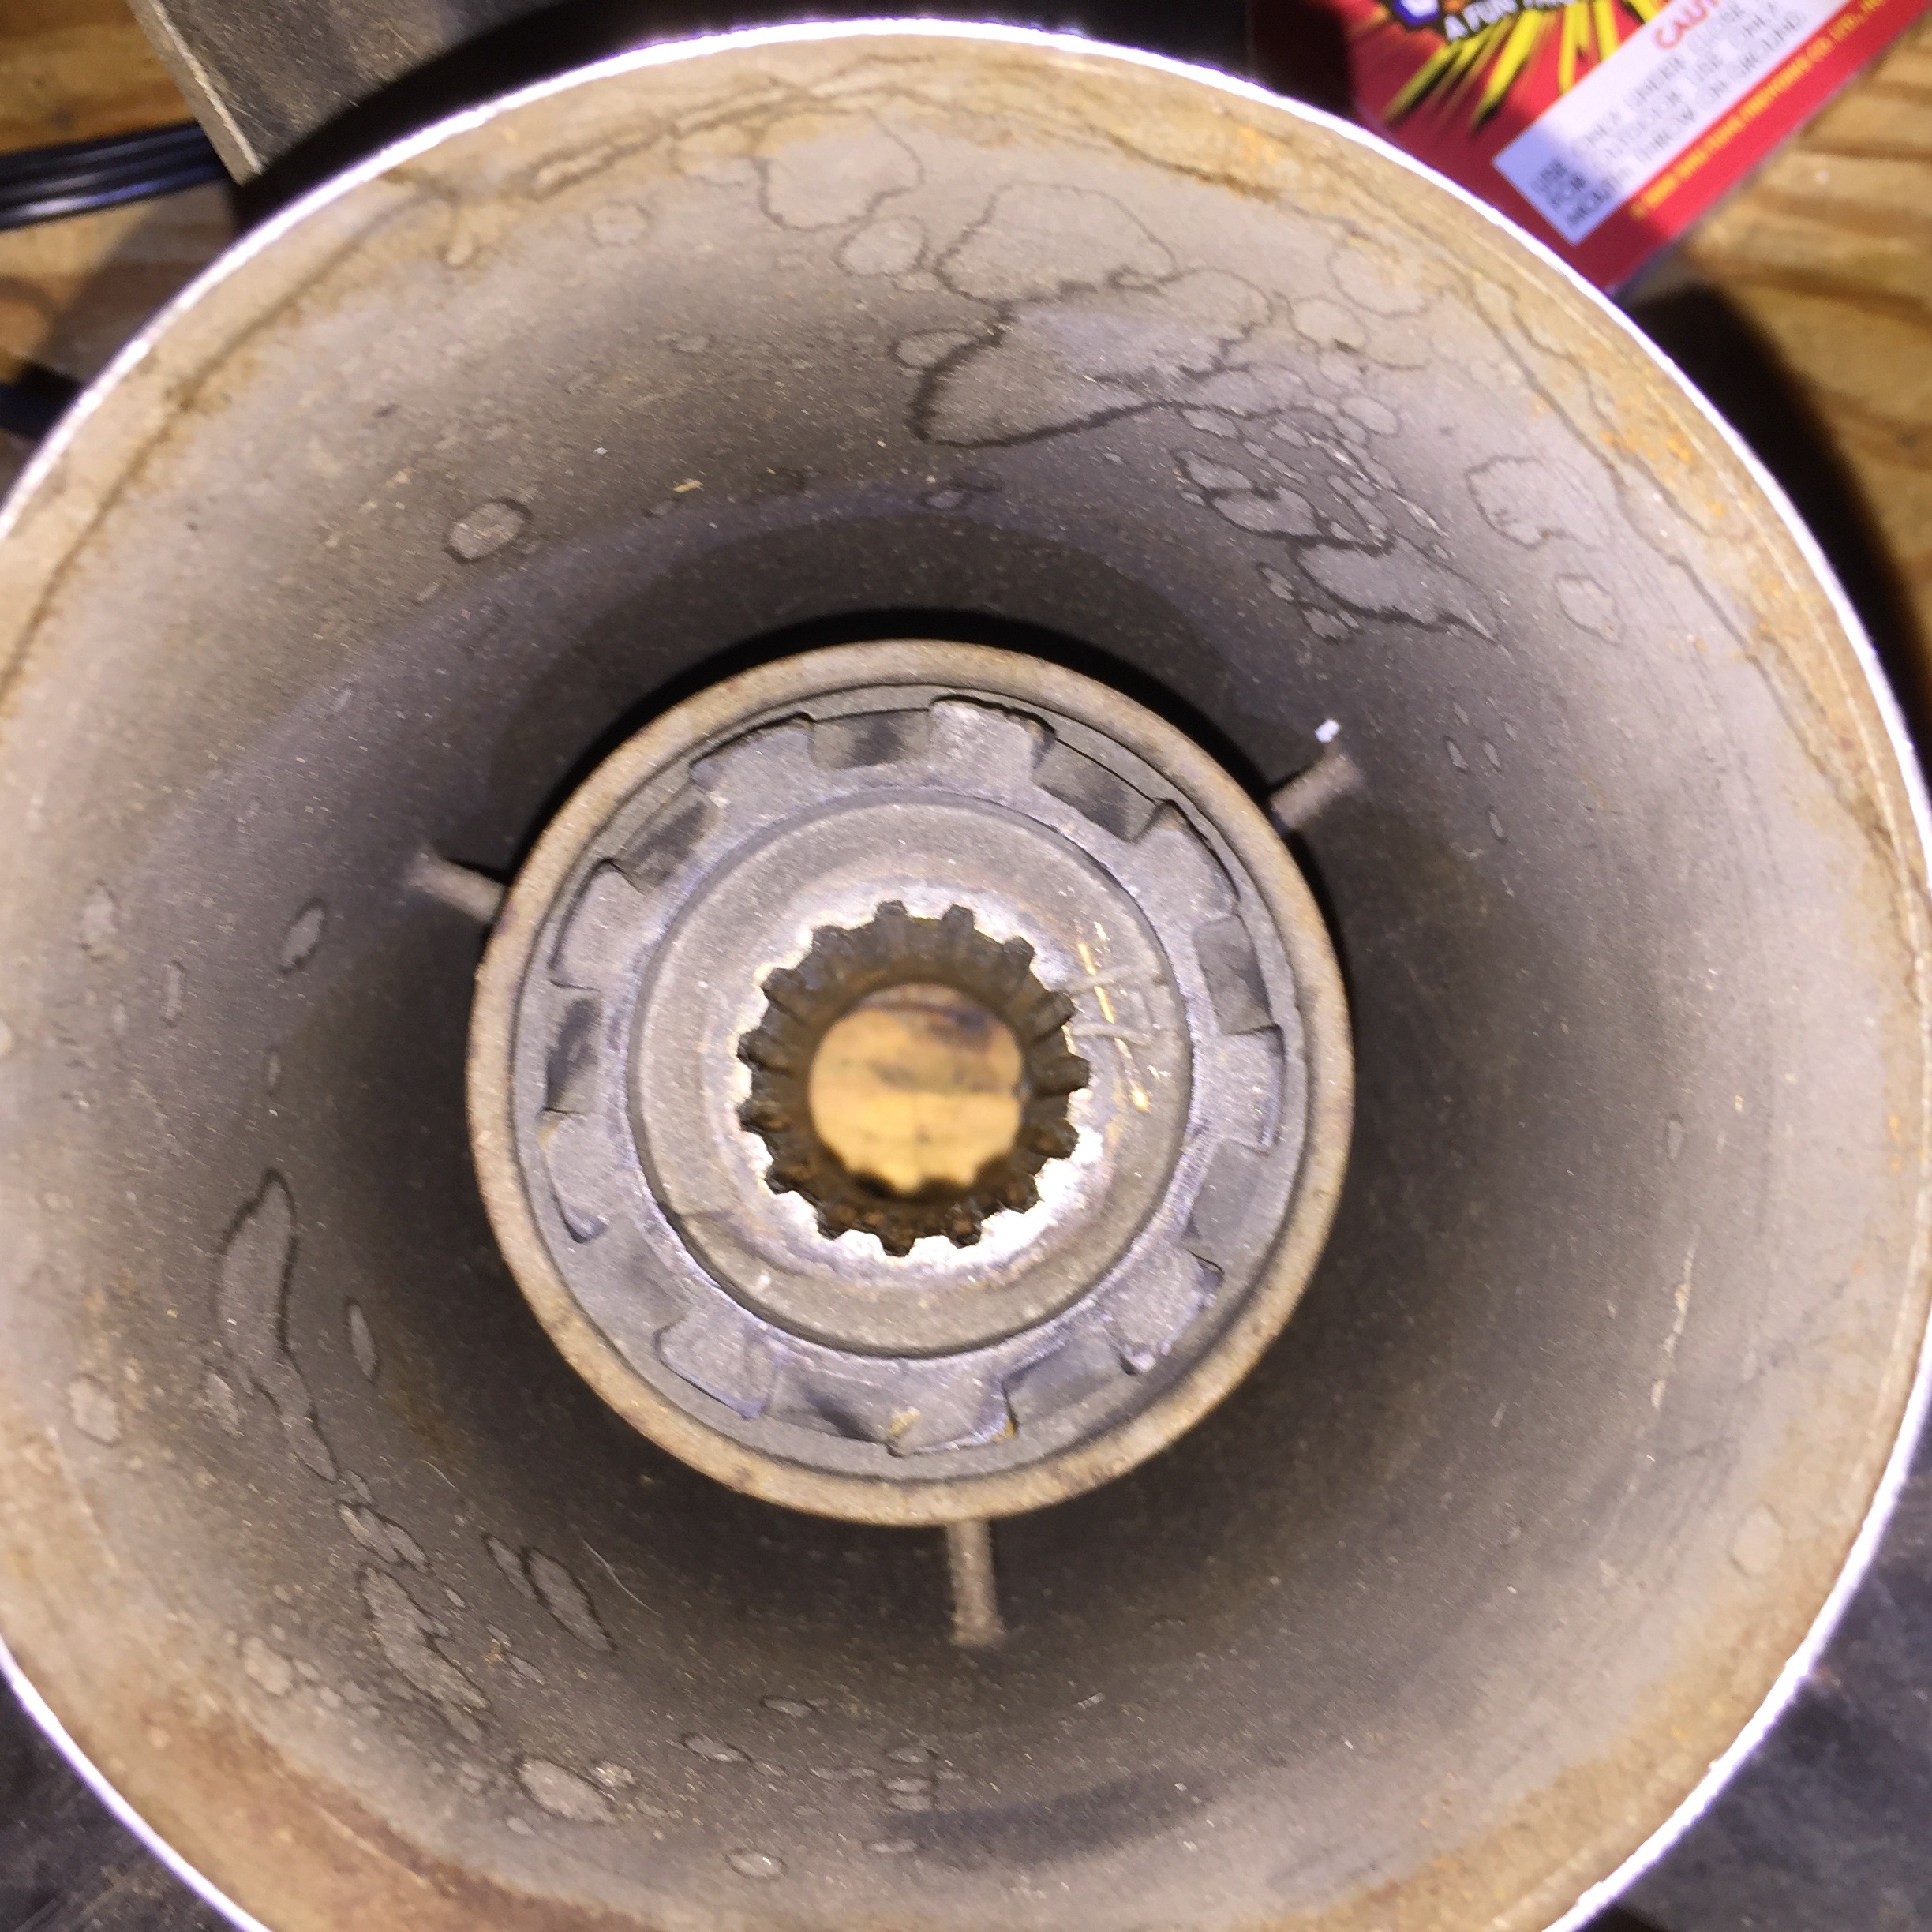
Plan on doing more maintenance/repair than just the carpet. I found it easiest to do some deferred maintenance when my boat was already in pieces, like lubricating remote control gear linkages, re-running wiring, replacing broken accessories, etc. There is no better time to do these things then when nearly everything is accessible to you. I'd recommend you think about what other maintenance items you may want to do when your boat is disassembled and plan in advance. I made a list of maintenance/repair items and bought all the material I needed before I started the carpet job. That list didn't include things that would pop up during the carpet job, such as broken throttle-only buttons. Stripping the old glue takes forever. Even after I found the nuclear weapons of carpet adhesive stripper (Klean-Strip Carpet Adhesive Stripper, found at my local Walmart and Home Depot), I would guess 50% of my time was spent prepping the surfaces for the new carpet. The rest was around 15% for disassembly, 15% for reassembly, and 20% for actually applying the new carpet. Getting ready to lay the new stuff is by far the most time consuming task. All of my research mentioned stripping carpet and glue. Some of my research mentioned the prep work takes a while. None of them prepared me for how much time it would actually take. Don't underestimate how much time you'll be wearing gloves and eye goggles, painting glue stripper on, scraping glue off, painting glue stripper on, scraping it off ... Also, be careful with the Klean-Strip stuff. You will know within seconds if you get any of that stuff on your skin. Having said that, please don't use the stripper I used without knowing it is safe for your boat. I used it without problems on an aluminum boat, but it stripped glue and paint off with equal ease. I have no idea what that stuff would do to fiberglass. Order carpet samples! Did I mention some of these would be dumb/obvious? I should have ordered a free sample, but I was in a hurry and decided I liked the grey color I ordered based on the picture on the website. Unfortunately, the product received was a MUCH darker grey than the picture on the vendor's site, and it had a blue tint to boot. I thought of complaining to the vendor I bought it from, but realized it was my own d**n fault for not being patient and ordering a free sample. The samples are available and free for a reason. Having said that, I still like the shade I ordered. It looks great on my boat. I also plan on sending a note to the vendor recommending that they update the picture on their site. Buy more carpet than you think you will need. My boat is 18.5' long with a beam width around 7'. The bow and stern areas are painted metal, leaving around 17' of carpeted area. I thought that a roll 24' x 8.5' would be more than enough for the job, but I was wrong. I needed around 6' more, but I ended up having to buy another 10 linear feet due to order minimums. In my case, most of the difference between 17' of carpeted length and and the 30' required to complete the job is from the compartments that are carpeted both inside and out on my boat. I didn't realize that until after I had bought the carpet and pulled all compartments apart. This leads me to the next lesson I learned ... If you have to buy more carpet to finish the job, make sure you get it from the same roll (or at least order exactly what you bought the first time). As mentioned above, I bought 24' x 8.5' of carpet in my first batch only to find it wasn't enough. I ended up buying some more, but had to buy it in 10' minimum lengths. In order to save a few bucks, I decided to buy 10' x 6' as it was $4 cheaper per linear foot than 10' x 8.5'. Dumb move in hind sight, as that means it was coming off a 6' wide roll instead of the 8.5' roll from the first order. Both orders were for the same color, but the rolls were slightly different in shade. Another one that should have been obvious in hind sight. Thankfully I was able to use the new stuff in places that the slight difference isn't noticeable. Again, I could have complained to the vendor, but I should have realized this one before I ordered the second batch. It was my own fault. Make sure you have more bracing wood and clamps than you will need. Both are needed to hold the carpet against the boat/compartment pieces while you wait for the glue to set. I started off buying 16 nylon clamps and two 2x2x8 pieces of wood that I cut down into smaller sections of different lengths. I ended up buying 16 more clamps and another two 2x2x8's and still ended up having to wait over night for glue to set before I could continue. Mark screw/rivet holes when you are putting the boat back together. On some parts, it will be obvious where to run the screw/bolt/rivet when you're putting things back together. On others, you will end up carpeting over both sides of the hole like around the edges of a deck board. I used a long pin to find blind holes by trial and error. Once I knew where the hole was located, I heated up a drill bit with a blow torch and pushed it through the hole to melt the carpet and make it easy to find the hole later. Take pictures as you disassemble the boat. I took pictures of anything I thought I would need as a reference in the future. The pictures were as good as gold on things like wiring the console back up. I also added items like tape measures to the pictures when it would give me a reference when putting the boat back together (i.e. where screws were in relation to other parts of the boat). Buy more "paint" supplies than you think you will need. Nearly all my research mentioned using a trowel for applying the new glue. Only one video mentioned painting the glue on. The glue I used was more like paint and less like tile grout, so using painting supplies instead of a trowel was an obvious choice. I used 4" rollers and 1" chip brushes to apply most of the carpet glue. Since I only had few hours at a time to work on the job, I ended up having to break up the carpet laying over multiple days which meant I used more of the rollers and brushes than expected. In total, I think I used three 4" rollers and around 10 chip brushes, including a forgettable trip to Walmart just before midnight on a Saturday night ... Use a beard trimmer on tight compartment lids. All of my compartments were tight once they were wrapped in new carpet. A $20 beard trimmer off Amazon helped fix that. I used it to shave off some of the carpet around the contact edges. All compartments are comfortably tight now, but not difficult to open. This was a great tip I read on a forum post during my research, but it wasn't mentioned on any of the articles or videos that I found. Well, that's it for now. Hopefully this was informative to folks thinking about replacing the carpet in their boat. As mentioned, I'll post pics once I'm done with my boat. I am really pleased with how it has turned out. I hope yours ends up looking just as good or better!
  2. Thanks gents. Yes, the battery was close to dead when I got out on the water. I knew it was going to be low to start the day. I was traveling for work until just before I hit the water, so I didn't have a chance to charge it before going out. It's charging now, and will be ready to go for the next trip. I plan to see 14V+!! Thanks again, Pete
  3. So I finally got a chance to get back out on the water with the new resistor pack. Installation was simple, even after cutting out the old fried wiring. The boat voltage was definitely better. It started off around 12V to start the day and ended up at 13.6V at WOT just before I had to leave the water. I think it would have kept going up had I spent more time on the water. Based on that, I would guess my stator was not fried (thankfully). Just posting a follow up in case someone with a similar problem finds this thread in the future. Thanks again iabass8!
  4. Is the bulb firm after the engine stops? If it is spongy, you may have an air leak in the fuel line somewhere or a bad bulb. Just a thought.
  5. Nevermind, I think I just fixed it. The rail that the shift linkage connects to needed to be greased. First pic below is linkage disconnected showing the new grease, second pic shows it before removing old grease and adding new. It shifts into forward, neutral, and reverse from both the linkage and the remote control now. Hopefully that's all it takes!!
  6. Hello all, I have a 2004 Tracker Pro Team 185 with original 90 HP Mercury 2 stroke and Quicksilver MPC 4000 remote control (throttle). I'm in the middle of a major boat overhaul, starting with new carpet (two weeks into it and 90% done!). Today I opened my remote control/throttle to re-grease mechanical contacts before reinstalling it in the recarpeted housing. I made sure to disconnect both throttle and shift linkages at the remote control before starting, and took pictures as a reference so ensure I put it back together properly. After cleaning out the old grease and applying new, the remote control shifts smoothly with no linkages, but I no longer have reverse when the linkages are attached. The gear box shifts into neutral and forward with ease. I've disconnected the linkage at the motor to work the shift lever manually--same result. Forward and neutral are smooth, but I feel increasing pressure when trying to shift into reverse. For reference, the last time the boat was run was three weeks ago to test out a new SS prop. It ran fine, including reverse. I've never heard a grinding noise when shifting. This seems really odd considering the boat has been running fine. Could I have done something wrong at the remote control? What should I check next? I'm really bummed that I've almost finished the recarpeting only to have a shift problem pop up. Welp. I'm really hoping I don't have a clutch dog replacement in my future... Thanks for your help, Pete
  7. Awesome response, iabass8. Thank you! I never considered that storing the boat without recharging batteries was putting the batteries through a brutal cycle. Excellent point. So after reading your post, I broke out my Seloc book to take a look at how to test the rectifier/regulator. Unfortunately, it doesn't have any info for my model. It has tons of detail for other models of Mercury motors, but it has a bland statement that mine isn't easily testable. On a lark, I decided to go take a look under the cowl at the regulator/rectifier and related wiring. The pic below is what I found: the wiring harness where the rectifier/regulator connects into the engine harness is completely fried. Both yellow wire connectors are burnt; same for red. I'm guessing the regulator went bad, causing resistance to spike, heat to build up at the connector, and the heat melted the connectors causing a short. I didn't notice any other suspect wiring. Thoughts?
  8. Hi folks, I have a 2004 Tracker Pro Team 190TX with a 90 HP two stroke Mercury. It has a 12V, 48 ft-lbs Motorguide trolling motor, Lowrance HDS 9 Gen 3 at the console, and Lowrance Elite HDI 7 at the bow. I have two batteries on the boat: starting/cranking and deep cycle. I have an on-board single bank charger wired into the trolling motor battery. I use an external trickle charger on the starting battery. I store my boat at a storage business away from my home; the rented parking spot does not have access to power. Each evening before a fishing trip, I bring my boat home to charge over night. I charge the deep cycle via on board charger every time (charger light turns green), and put the starting battery on an external charger at 2 A setting (10A is the other option). My boat is used/charged at least once a month, year round. I have been having battery issues for as long as I have owned this boat (4+ years). I have replaced both deep cycle and starting batteries 2-3 times each. Both are less than 4 months old at this point. I am starting to have cranking issues again after a full day on the water. My dash voltage reading while on the water never shows above 12 V (even when running at WOT for a few miles) and frequently dips to 10V when not cranking. I'm ready to pull what little is left of my hair out. My first question pertains to battery wiring. As noted above, I have the trolling motor and on board charger wired in to the deep cycle. Everything else is wired into the starting battery. Is this the right setup? Should I wire everything but the engine into the deep cycle? My second question is about my battery charging. Should I be doing something different? Perhaps charging the cranking battery at 10A overnight before a trip? Buy a dual bank charger? I'm starting to think I am definitely doing something wrong. My budget (read: wife) has required me to buy lower end batteries. I'm currently using Excide and EverStart. I'm inclined to buy higher end batteries, but only if I can have confidence that I'm not doing something else wrong first. Any other thoughts?
  9. Great feedback, guys. Thank you. I went ahead and put the prop on the boat last weekend, but didn't get on the water until yesterday. Right out of the gate, the new (used) prop performed well. Holeshot wasn't as good as before, but I'm told that is to be expected going from a 21P to a 22P prop. My top end speed didn't change much (~41 MPH by GPS), but the winds were around 10-15 MPH on a wide open lake so there was considerable chop. The one thing that caught my attention was my wide open throttle. The WOT with the old 21P prop was steady at 5400 RPM. The WOT with the new prop topped out around 5600-5700 RPM, although this was when the engine was trimmed up a little more than normal. As noted in the OP, my engine is a 2004 Mercury 90HP 2-stroke. Specs for the engine indicate WOT of 5000-5400 RPM. Should I be concerned about the WOT with the new prop?
  10. Thanks for the replies. They are really helpful. One more question: I'm worried if this hub will give out before damaging my lower unit if I hit something. Any idea if Mercury installed "breakaway" type pressed in hubs on older Laser II props? I do have a Flo Torq II hub from an older prop. I don't know if it would be useful here. Thanks again.
  11. Hello all, I bought a used prop today for my 2004 Tracker Pro Team 190TX with a 90 HP Mercury 2 stroke. I picked up a used Quicksilver stainless prop for less than $100. It is replacing an aftermarket aluminum prop that is in poor shape. The new prop appears to be in good condition. I checked that this model does fit using Mercury's prop selector on their website before buying it. Now that I have it home, I wanted to check the condition of the hub, but I can't seem to break the hub free from the prop. It appears I should be able to gently tap on the thrust-washer/gear case side of the hub to force it out. I tried it with both a brass punch (alternating sides that I hit) and a 22mm socket, but was unable to break it free. See the second pic below to see the side I was banging on. To be blunt, I understand enough about marine props to be dangerous. Before I do any damage, I thought I'd ask for advice here. Any thoughts? Should I just use it without checking the hub? Hit it harder? Use a bigger hammer? Thoughts?
  12. I had a similar problem on a Motorguide trolling motor. I took the head apart and realigned the arrow, only to have it go out of whack on me again a month or two later. I've since learned to steer the boat based on the foot pedal and ignore the arrow. Not sure this will help you, but good luck!
  13. I use Mercury premium plus synthetic oil in my 2004 Mercury 90 HP 2 stroke. I also use Quicksilver (Mercury) fuel additives for handling the Ethanol. I use Stage 1 every tank to treat the Ethanol and Stage 2 every few months to clean the fuel system. It works well for me. Good of luck and tight lines, Pete
  14. I had the exact same problem on my 2004 Mercury 90 HP 2 stroke engine. If you disconnect the light blue oil tank sensor wire and the alarm goes away, you can be certain the tank is bad. Mine was, and a new one fixed it. I ran with the wire disconnected for a few weeks before I got the green light from my wife to buy the new tank for around $90 shipped to the house. I just knew to top the tank off every time I went out and never got below 3/4 full at the end of a trip. Bottom line: if disconnecting the light blue wire coming from the tank makes this alarm go away, you can be certain the float internal to the tank is bad. If you disconnect it and make sure you always have oil, you can still run it. My engine has no oil flow sensors or anything of the sort. It is a simple sensor for oil level in the tank and that's it. Good luck and tight lines, Pete
  15. I have a Lowrwnce HDS 7 and Elite 7 HDI. Between the preloaded maps and Insight Genesis, the maps I've been using aren't that great. The preloaded maps are pretty much junk. Detail with Insight Genesis is good, but the coverage is not the best. I've been uploading sonar data after every trip, but would like to have detailed map data available when I'm on the water, not after. What do you guys recommend for map cards? I've checked out the Lowrance/Navionics website, but I'm not certain which one to buy. Also, does anyone know if is it possible/legal to copy a map card that you buy to use in your other sonars (eg console and bow mounted units)?
×
×
  • Create New...

Important Information

We have placed cookies on your device to help make this website better. You can adjust your cookie settings, otherwise we'll assume you're okay to continue.